
- 54. 10 Useful Pieces of Advice for Teaching with LEARNING WORLD #9 & 10
- 55. “Happy New Year!” “I don’t say that.”
- 53. Halloween 2019
- 52. READY Workbook Pg. 17
- 51. English-Uplift 1-Day Seminars
- 50. READY Workbook - vocabulary copying activity
- 49. 10 Useful Pieces of Advice for Teaching with LEARNING WORLD #8
- 48. 10 Useful Pieces of Advice for Teaching with LEARNING WORLD #7
- 47. 10 Useful Pieces of Advice for Teaching with LEARNING WORLD #6
- 46. 10 Useful Pieces of Advice for Teaching with LEARNING WORLD #5
- 45. 10 Useful Pieces of Advice for Teaching with LEARNING WORLD #4
- 44. 10 Useful Pieces of Advice for Teaching with LEARNING WORLD #3
- Kindergarten aged students
- Lower Elementary-school aged students
- Upper Elementary-school aged students
- Junior High and older students
- Others
33. Springboard again! Of course!!!
My blog has been a little quiet of late… Every year after the summer vacation, preparation for the autumn workshop season starts. This involves important schedule negotiation with APRICOT, agenda-setting, videoing lessons and consolidating ideas. Very little is on my mind right now except workshop content… For sure I want to add thoughts and experiences to the blog, but in doing so I may unwittingly give workshop content away prematurely!!
In October and November I will be presenting at two Nellies’ Workshops; one in Osaka (Oct.15th) and the other in Tokyo (Nov.5th). The topic is: helping students to develop reading skills with the SPRINGBOARD Readers. I’ve given several presentations on this topic over the years, and there is a blog entry here as well.
https://www.apricot-plaza.co.jp/category/matthew/matthew-others?page=2
And for good reason. I’m still convinced SPRINGBOARD is the best material to help kids get started with reading, remain motivated to read, and generally feel success with reading.
The student in the video below is eight years old, and has been studying English for two years. Here she is reading “Molly Monster’s Party” from Level 4.
She’s quite good, don’t you think?
Now, what preparation did she do to get herself able to read this book?
Well, first of all she has read all the books in the earlier levels. Earlier exposure to most of the vocabulary in this story of course helped her. During her initial challenge of the book however she mispronounced the words “some” and “made”. And she appeared to not understand their meanings.
Look at the following photos for a visual understanding of how I helped her with “some”:

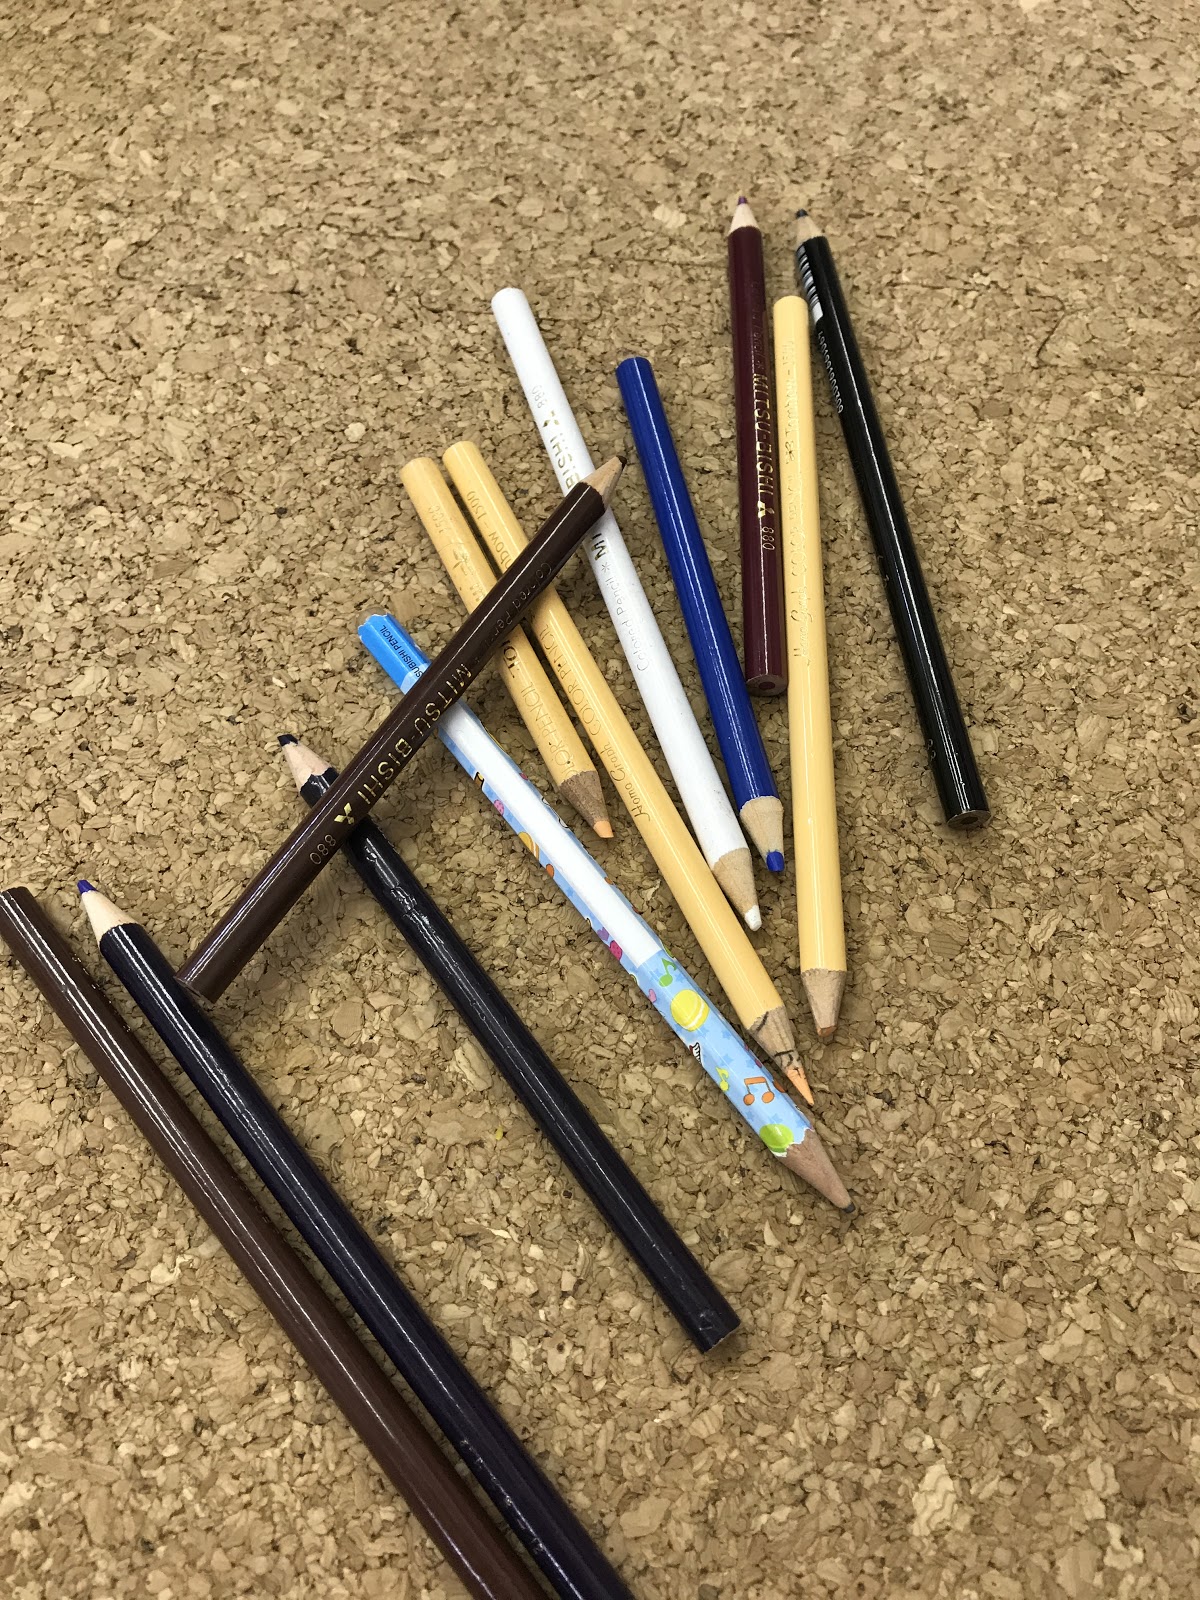
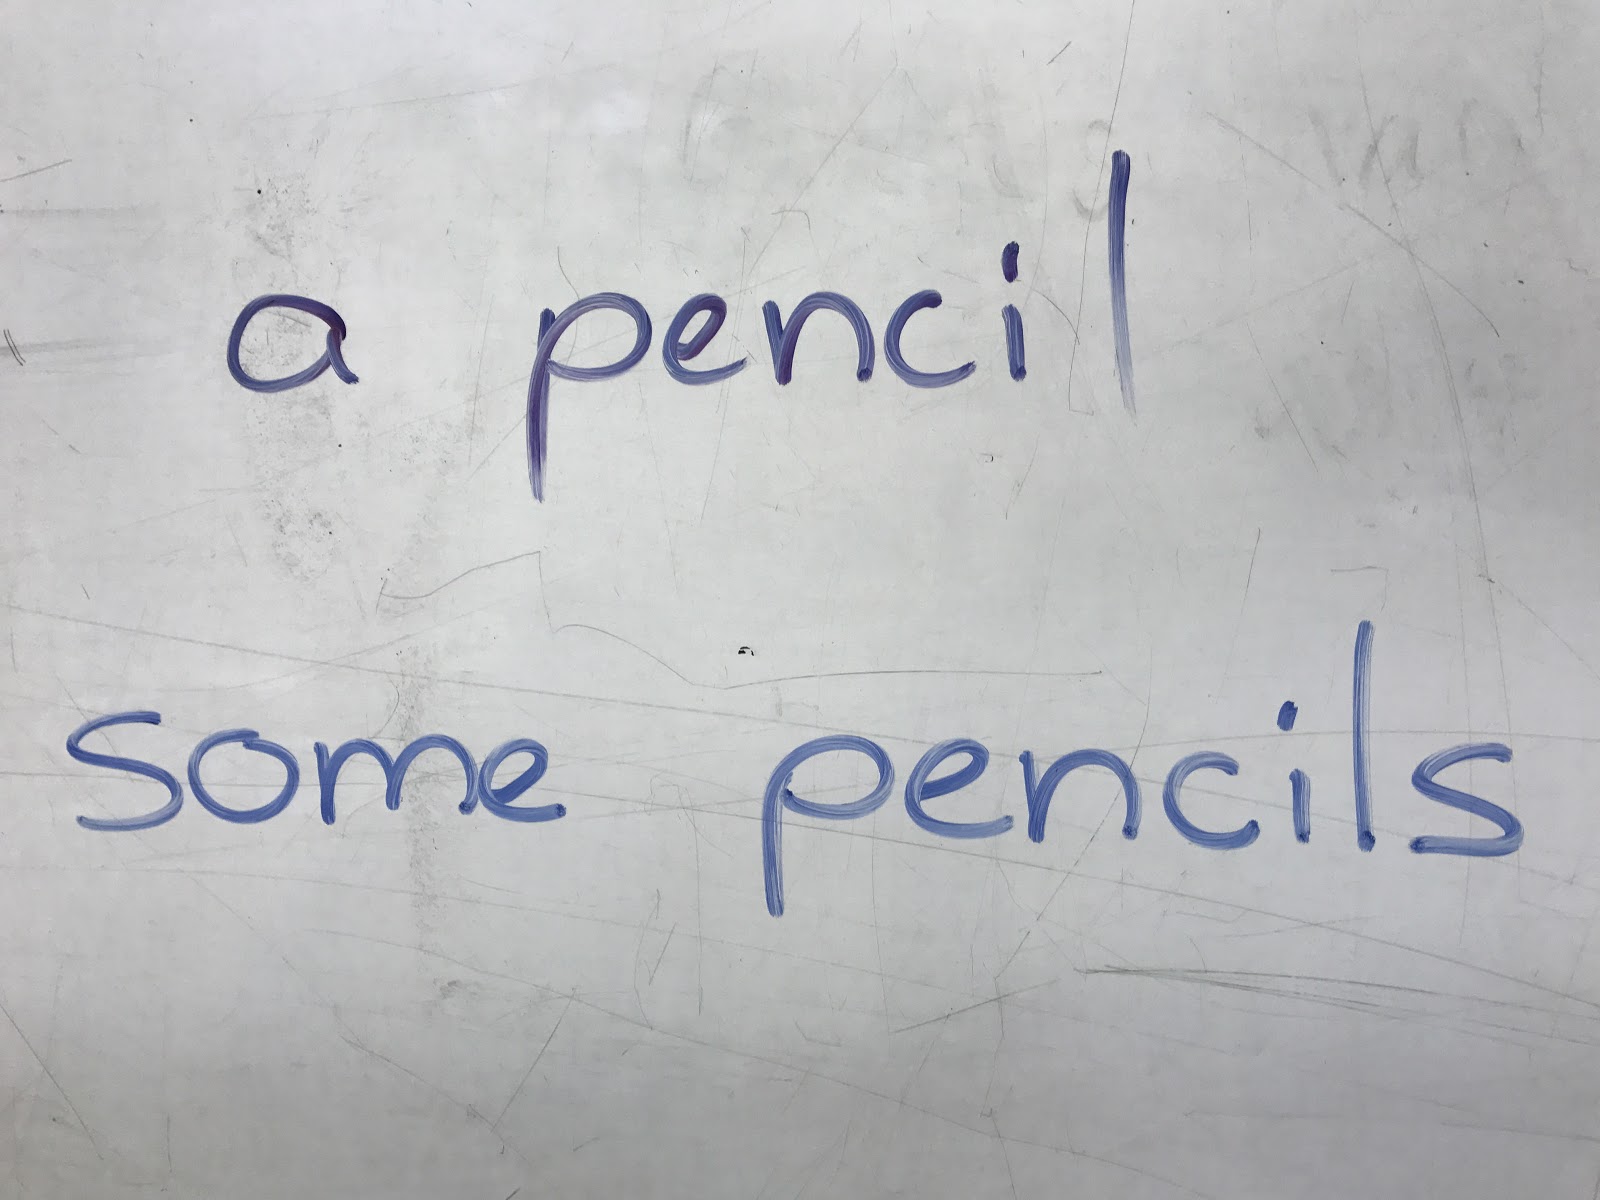
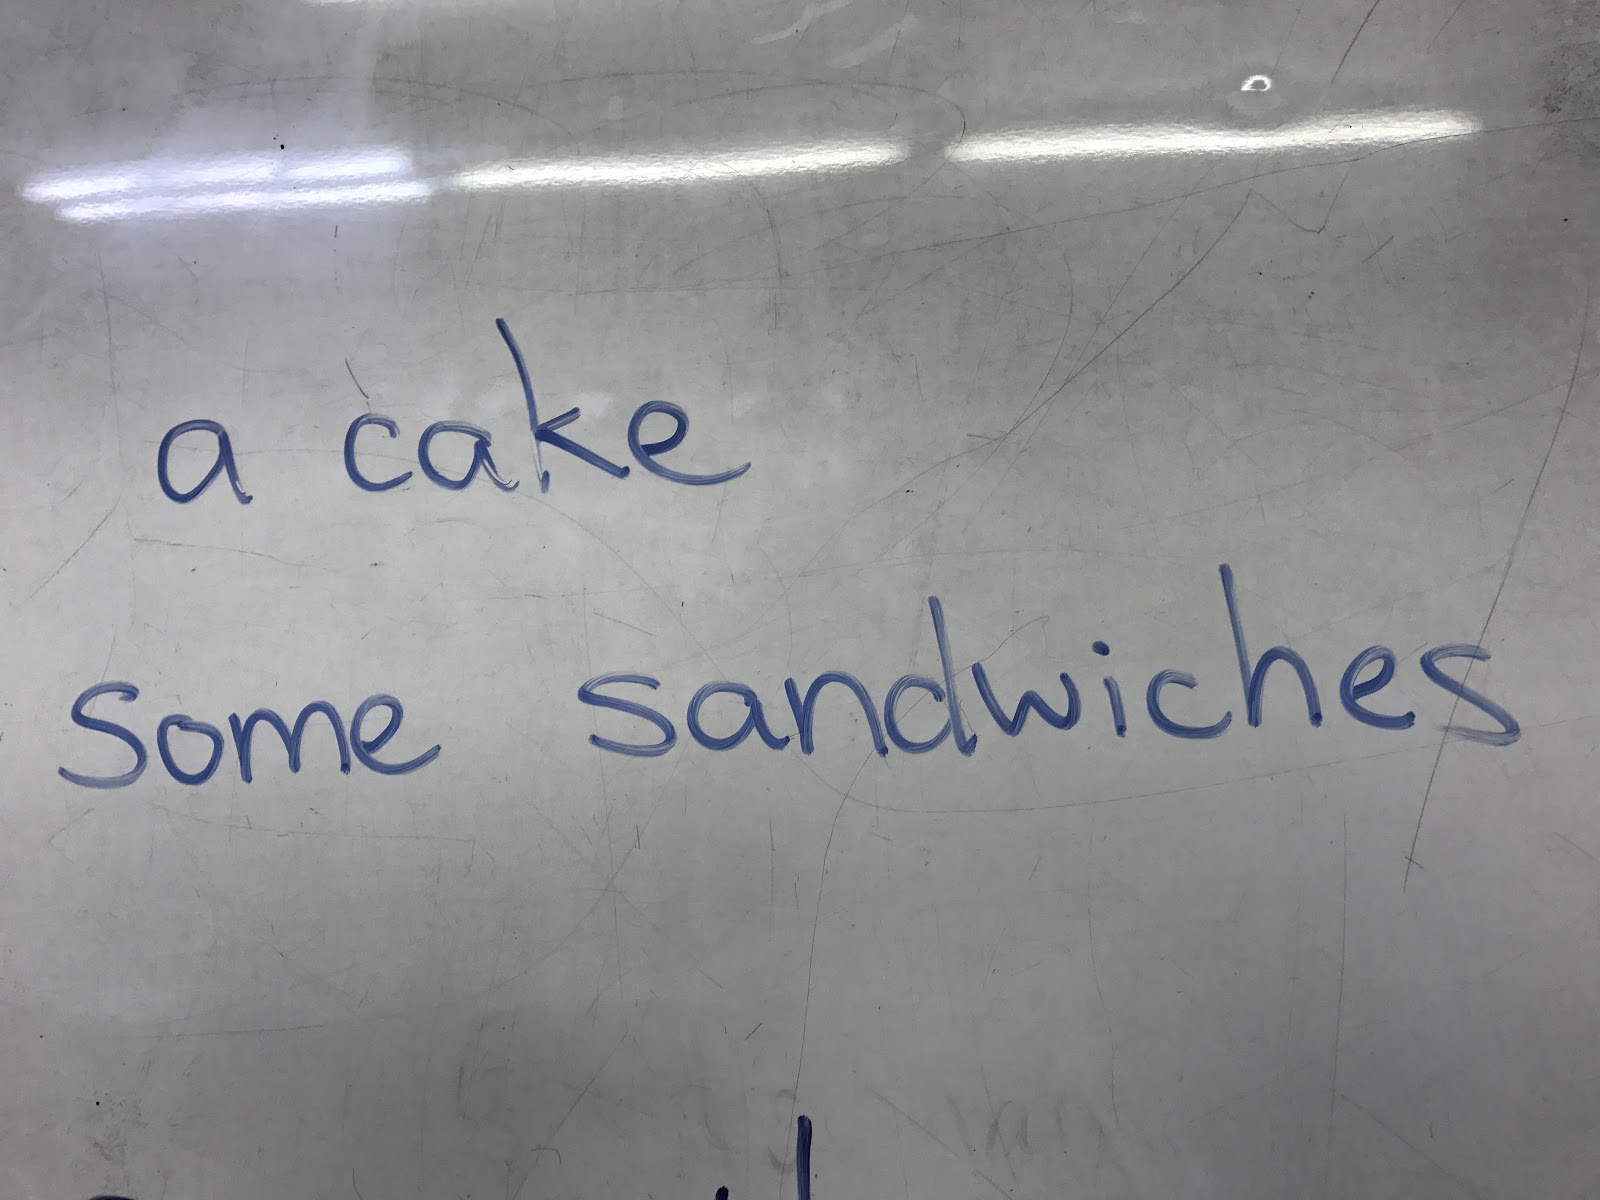
Look at the following photos for a visual understanding of how I helped her with “made”:
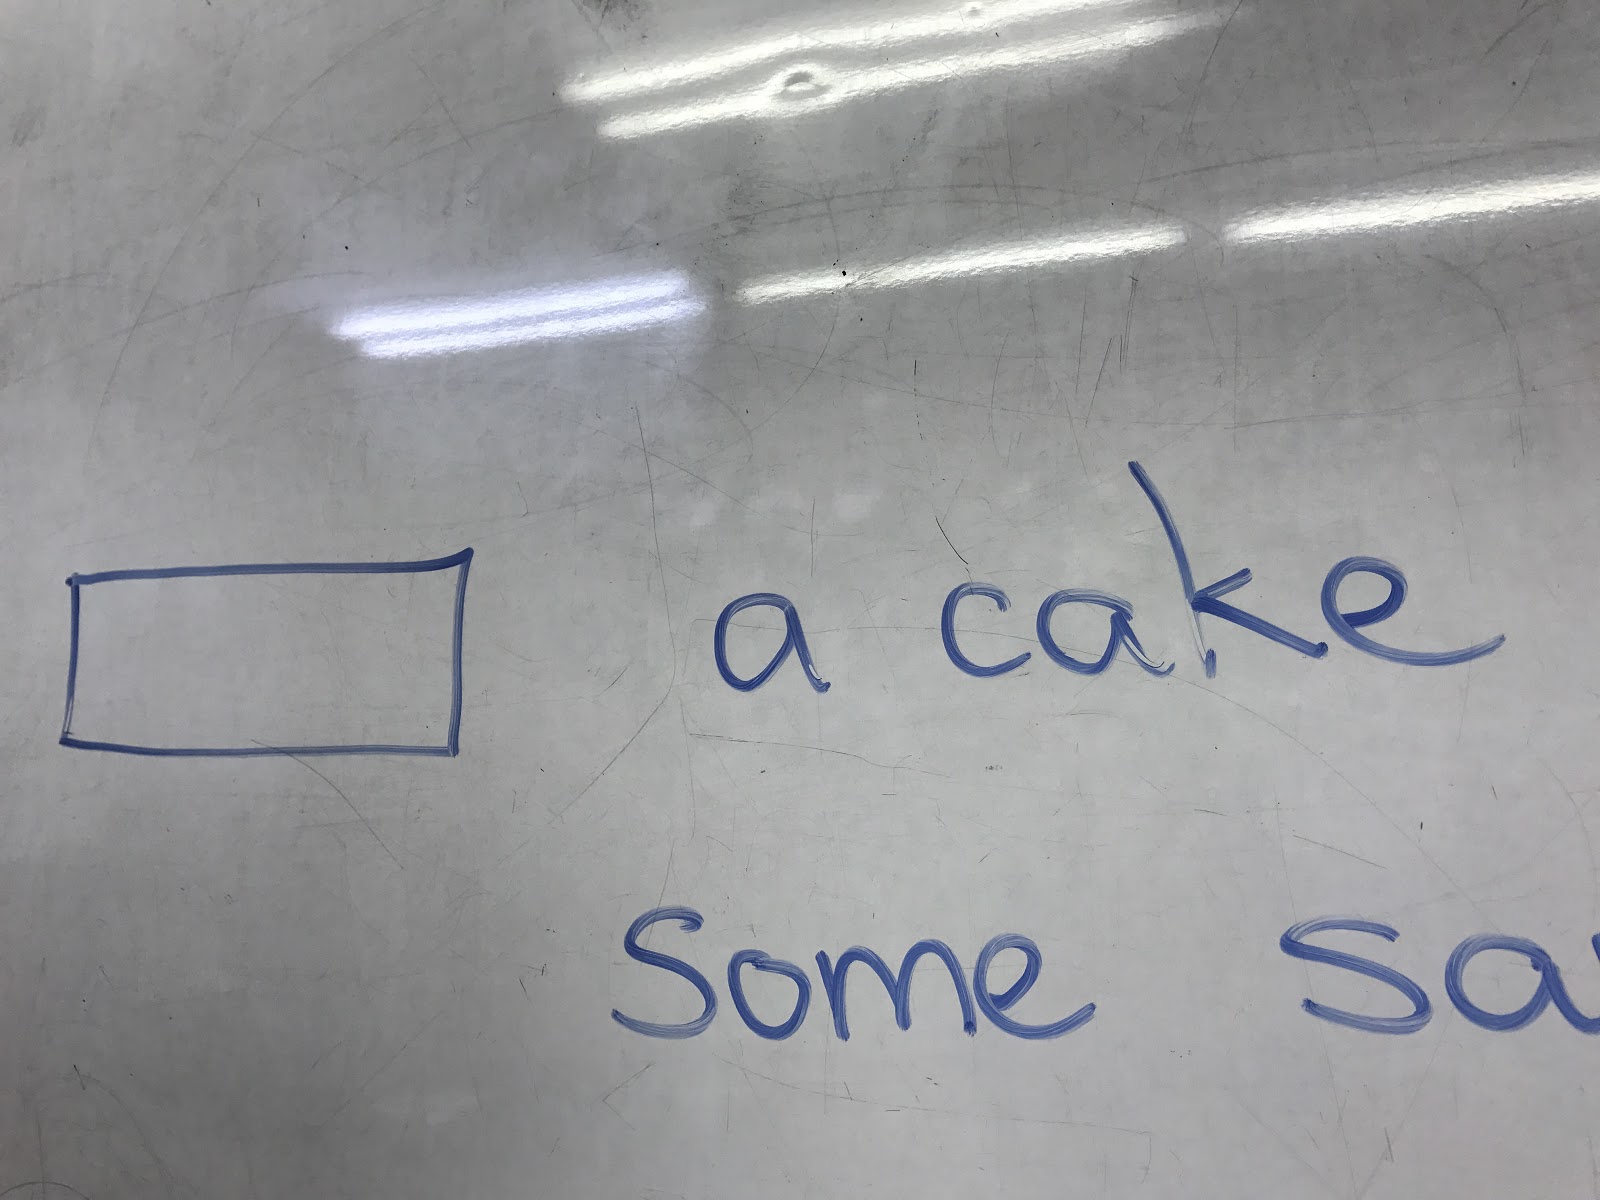
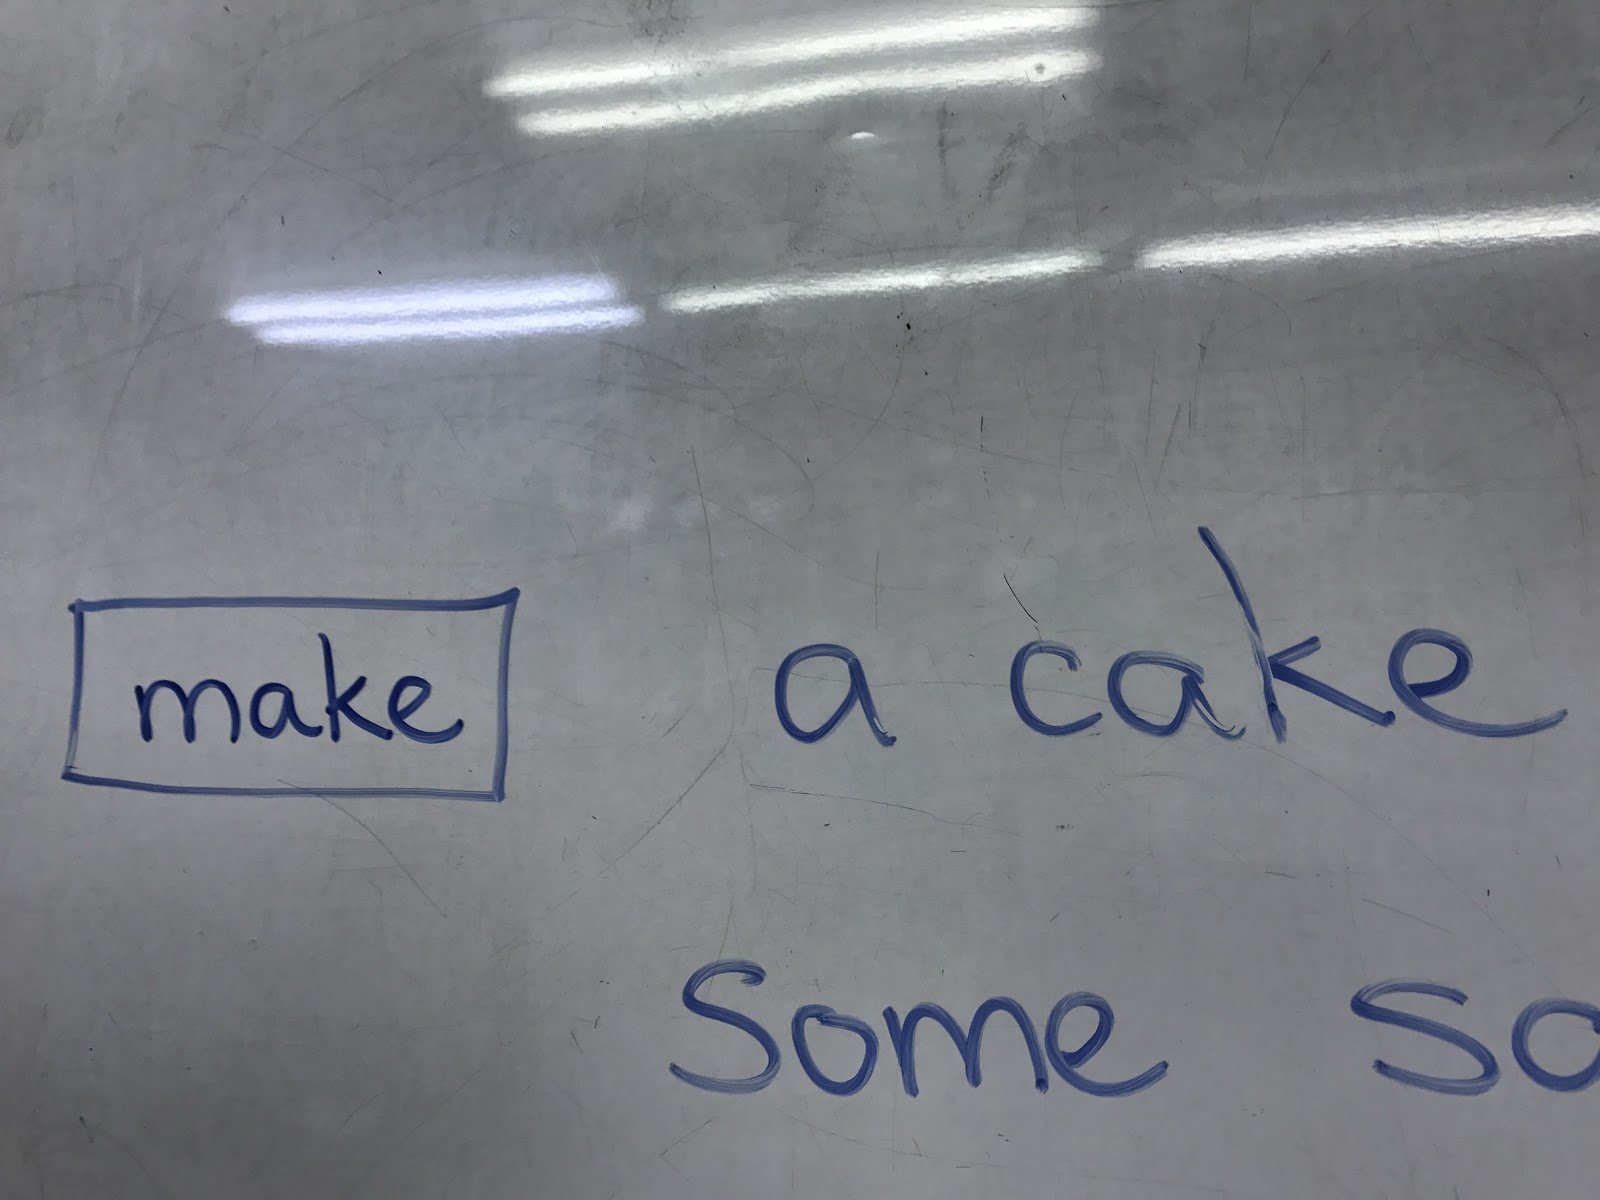
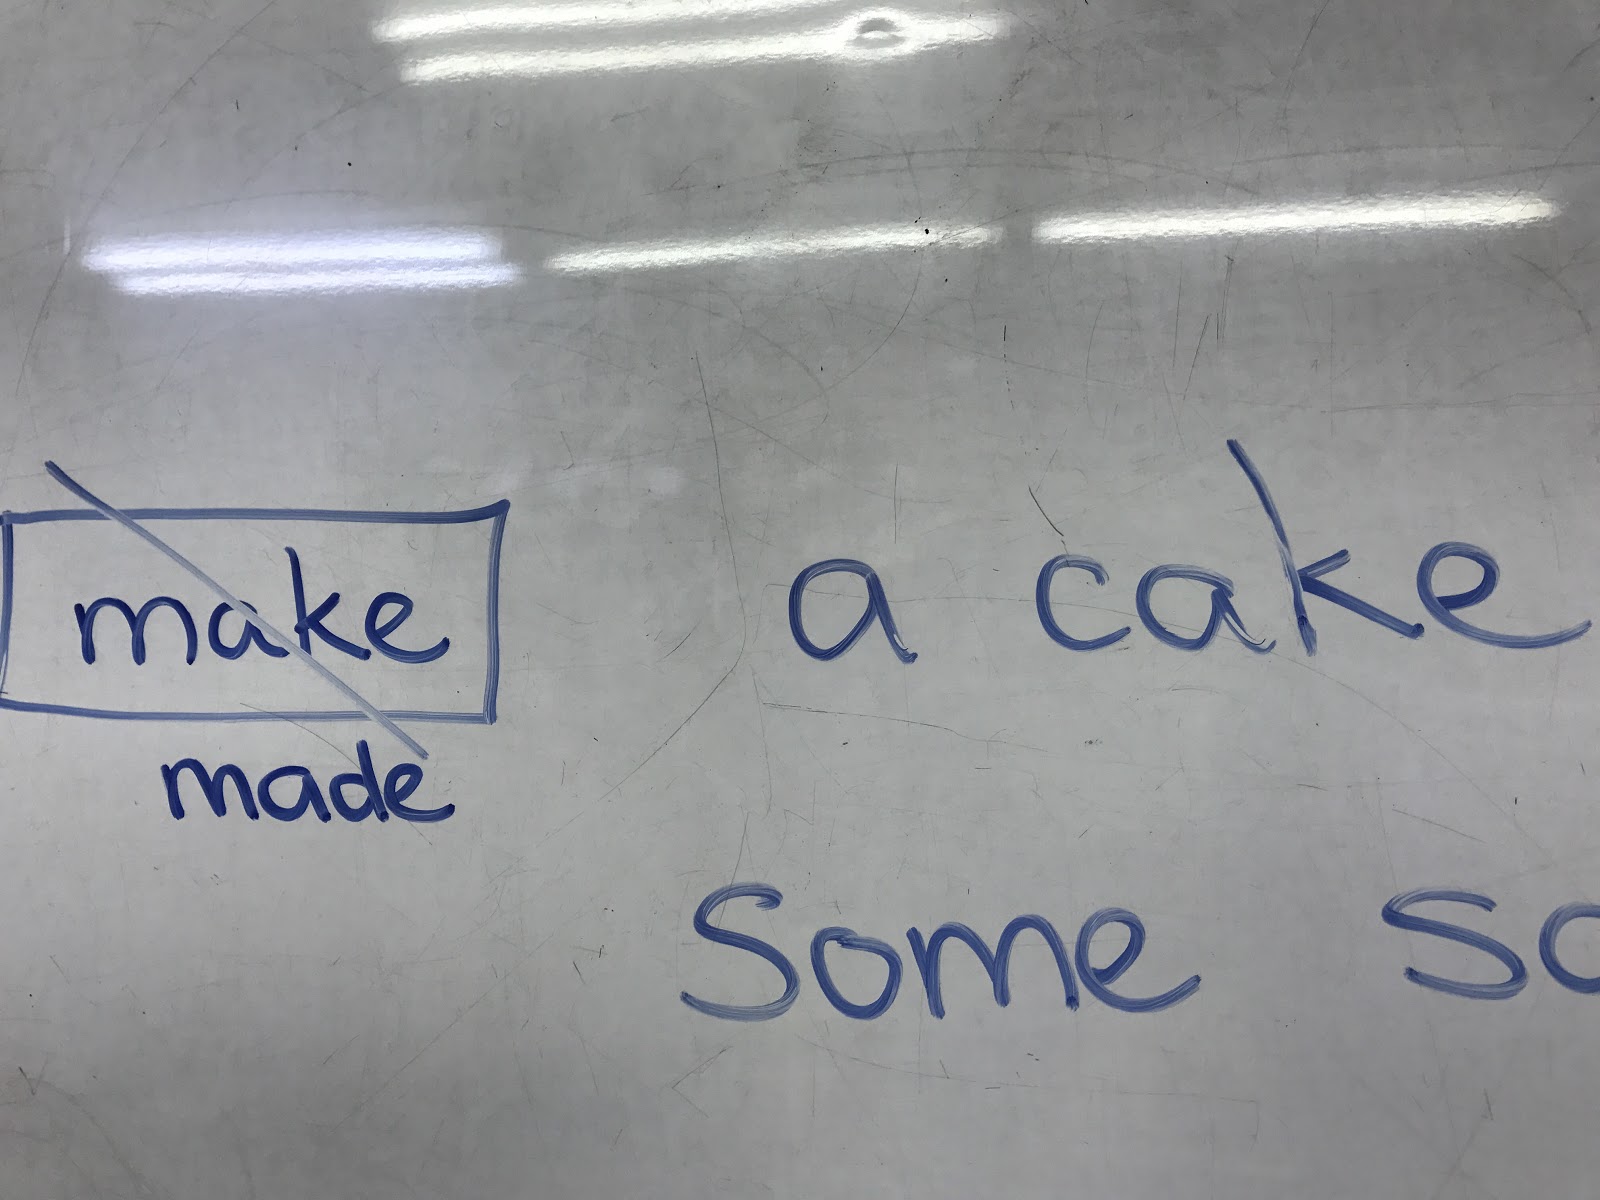
With past tense verbs, I always use the term “finished action”. When “make” is finished, we say “made”.
With this simple preparation, together with her other experiences within a structured reading program, she was able to read the book.
Hey, if you are in Osaka or Tokyo on those weekends, it would be great to see you there at the Nellie’s workshop!!
31. READY: “On the School Ground”
This Unit introduces verbs in their simple form, and includes the expression “Let’s ~”. , In the illustration Kaetlyn is holding a soccer ball, which suggests that she is not yet playing it. While turning to Yuko she is running and pointing to an area of the playground where other kids are playing the sport. The whole illustration makes the meaning of “Let’s play soccer” very clear.
Because the illustration makes for easy input of the target language, it’s tempting to have students simply open their textbooks and teach from there. Although we hear at APRICOT workshops that it’s beneficial to introduce the target language to students in a communication activity before they open their textbooks, it’s not always easy designing a meaningful activity on certain target expressions – and “Let’s ~” is a case in point!
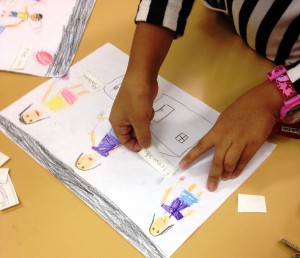
I recently gave a lesson on this page. To encourage student interaction and to give students more sight-reading experience, I cut out the faces of a photocopied version of page 28 and prepared hand-written English of the verbs. The verbs were written in the progressive form
( ~ing). As a class, students read each verb and matched them to a face. Throughout this process textbooks remained closed. Matching was done based entirely on imagination.
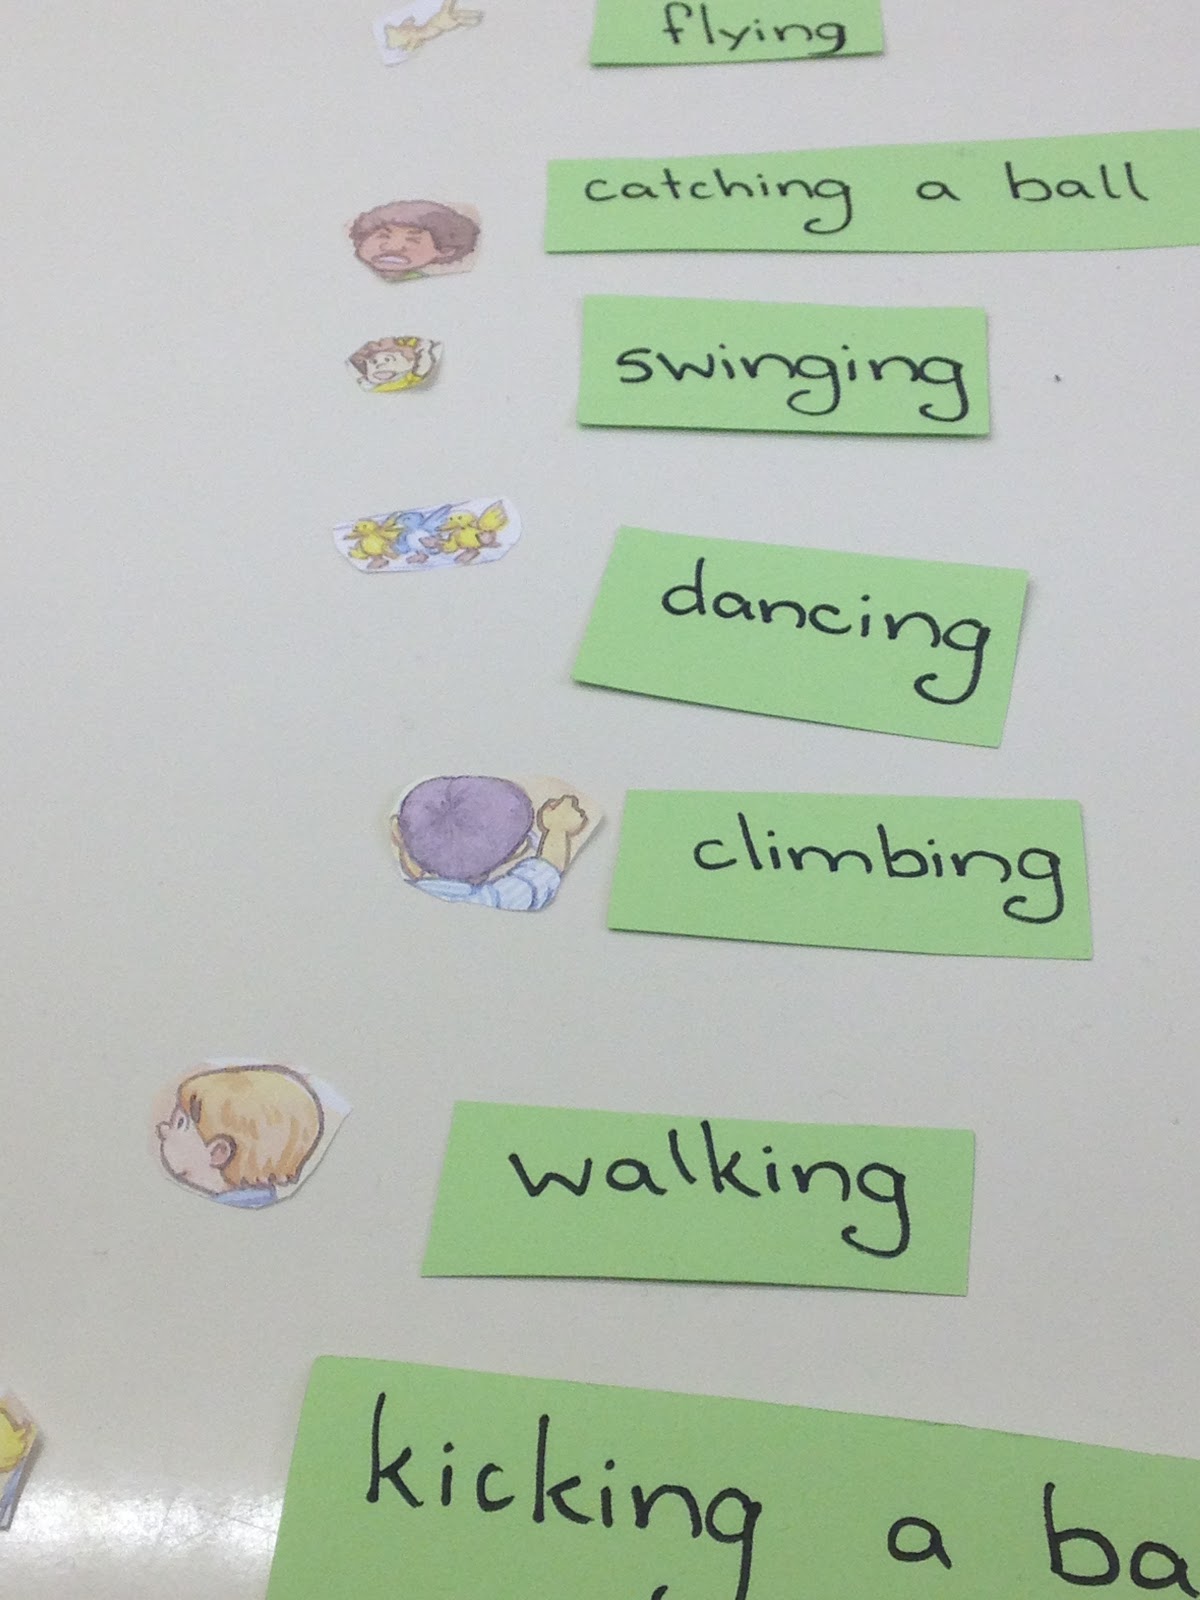
The students had a fun time with this activity. They all worked together to read the word-cards. Certain expressions on the faces made certain verbs highly unlikely, but their combination made amusing imagery.
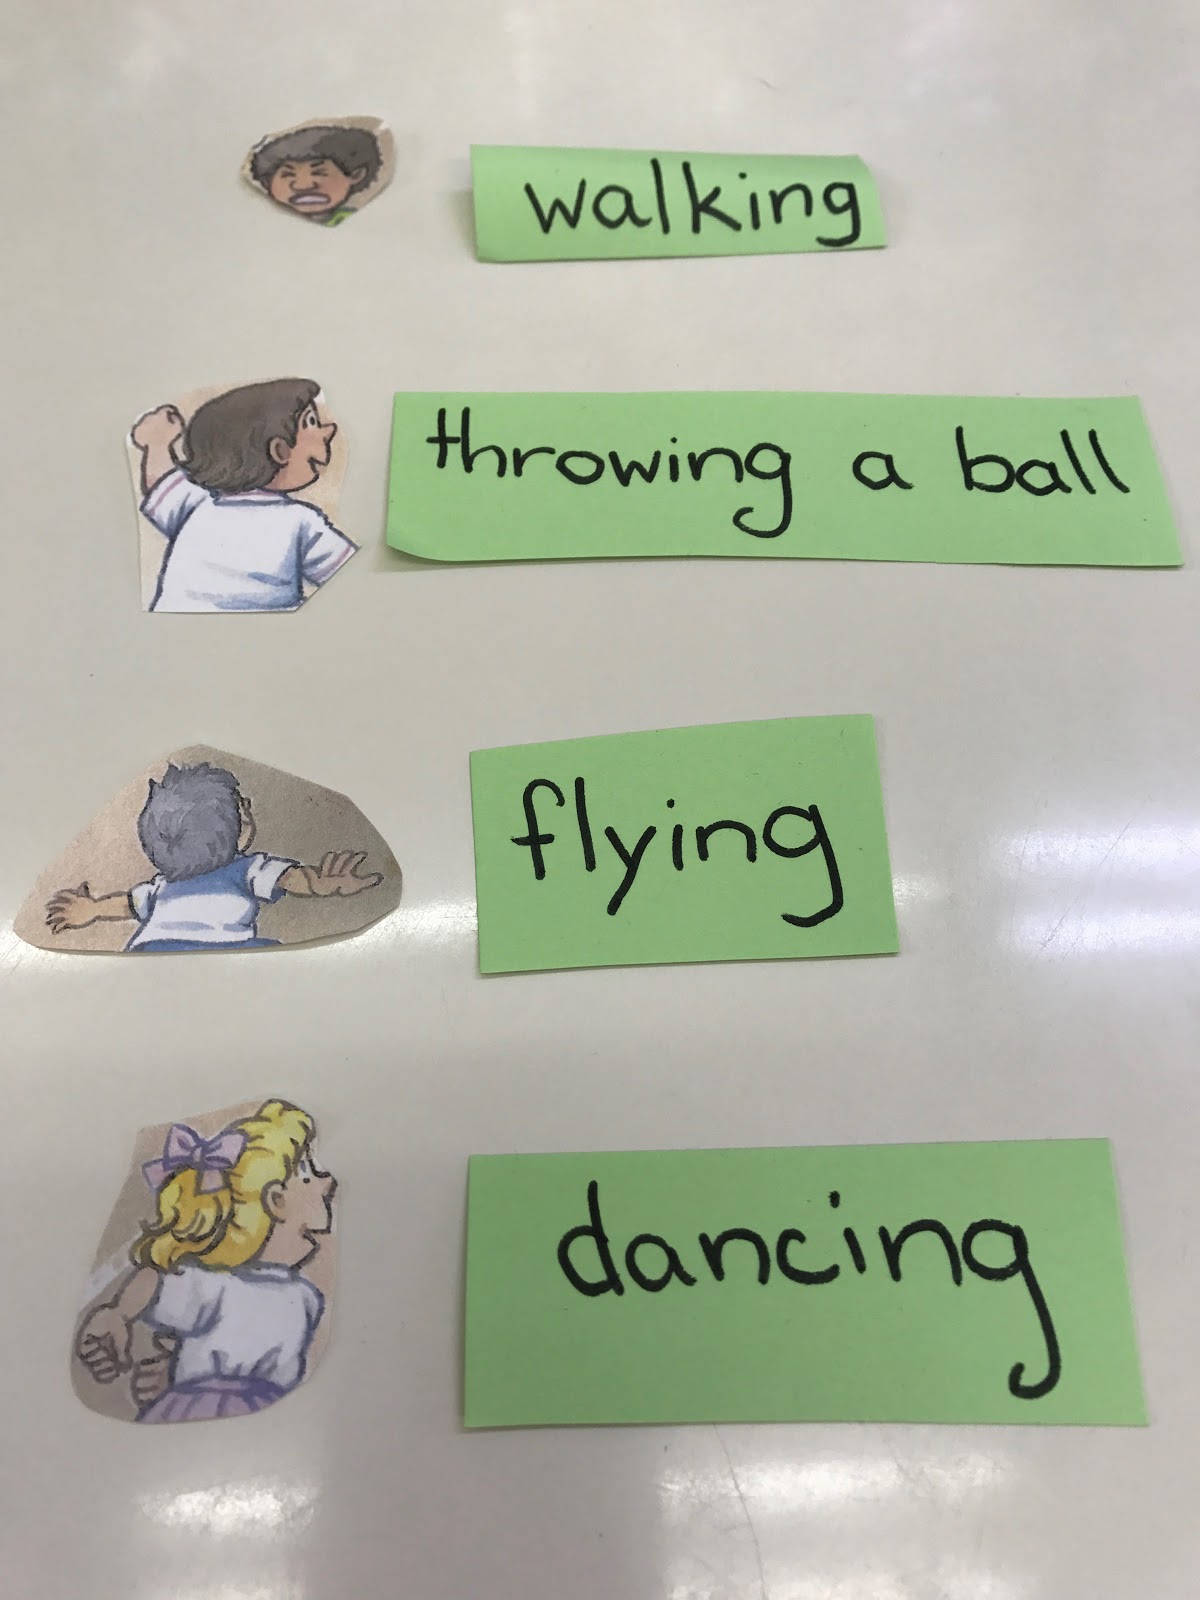
In the end, textbooks were opened to check.
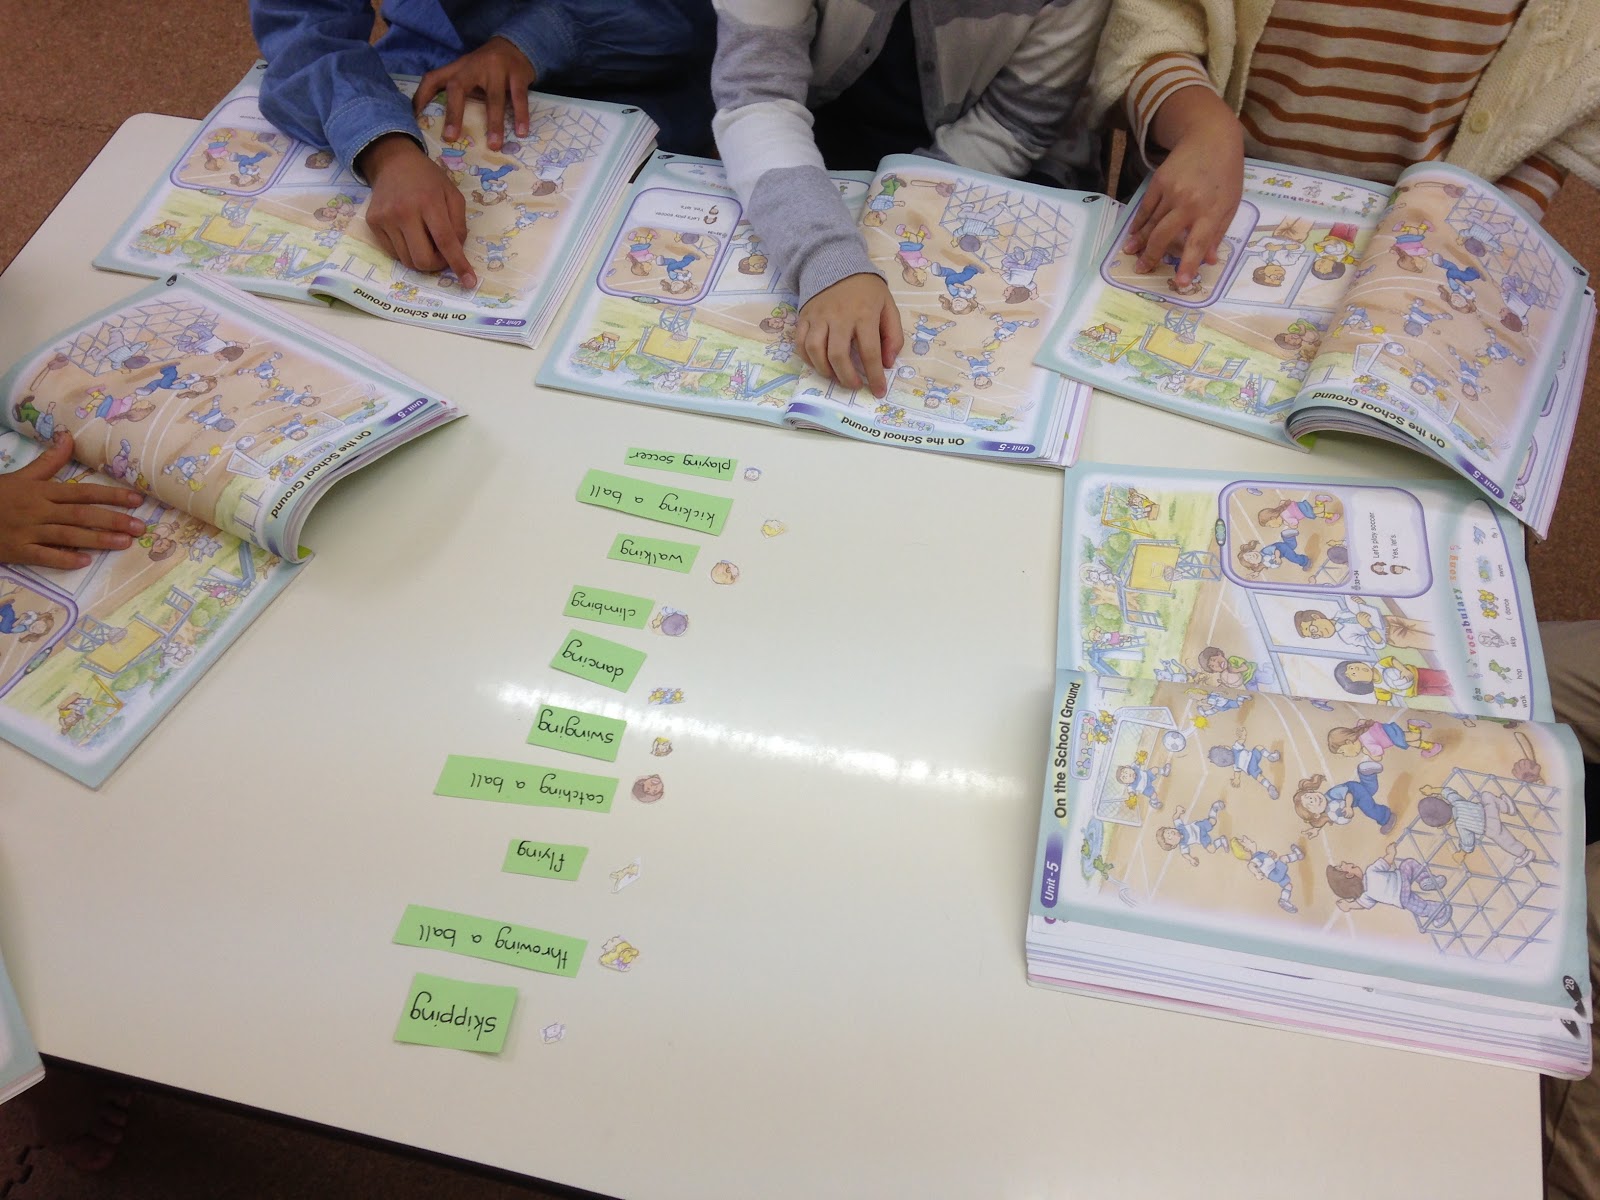
Once the page was open, the transition from the progressive form (~ing) to the simple tense form with “Let’s ~” wasn’t problematic. The illustration of Kaetlyn and Yuko is clear enough.
When the target language doesn’t lend itself easily to a communication activity, it may instead be a nice opportunity to give students a sight-reading experience during which meaningful communication may evolve.
25. Pets
Throughout the LEARNING WORLD Series, the topic of Pets returns frequently. APRICOT has a lot of supplementary material that can be used in support, notably “My Pet” from the Picture Book Series, and AJ Picture Dictionary.
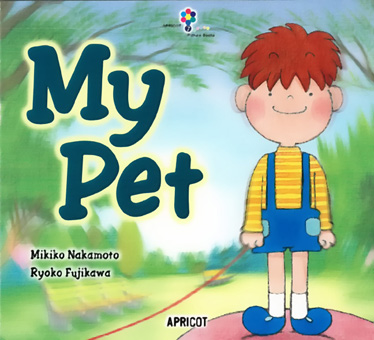

“My Pet” is a fun story about a boy who is thinking about getting a pet, but can’t decide which one as all can potentially be problematic! Adjectives are presented in the form of “too ~”, and an array of pets are eventually dismissed as “too fast”, “too slow”, “too heavy” “too scary” “too tall”.
An excellent workbook is also available with a variety of activities catering to a variety of student levels.
To be sure, not every suitable adjective for pets is represented in “My Pet”, but it provides a good start for students. Now open page 22 of AJ’s Picture Dictionary, and the amazing pets on display can trigger all sorts of adjectives!
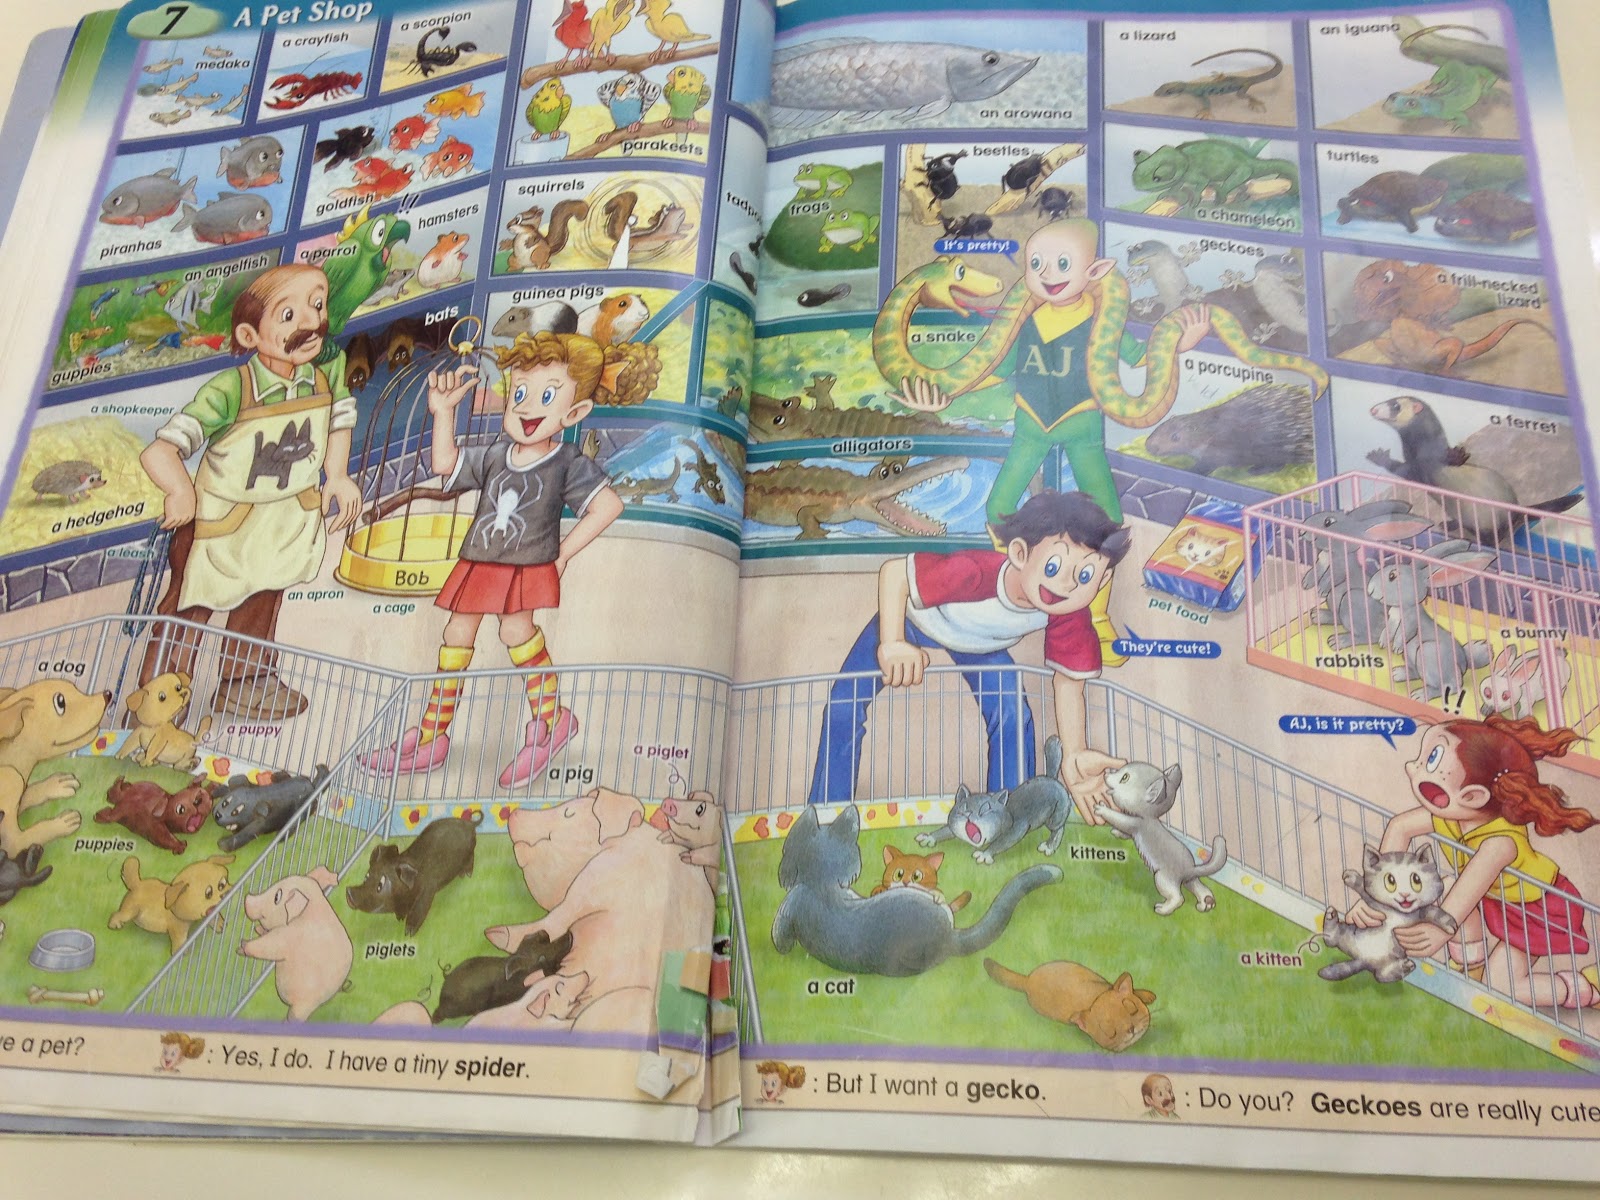
In addition to the adjectives presented in “My Pet”, “big”, “small” “cute”, “beautiful” “funny” and “dangerous” can be applied. We should take care when teaching adjectives though. After all, the function of adjectives is for people to express their own feelings about things. Teachers should avoid pushing personal preferences when teaching adjectives:
“No, dogs aren’t ‘cute’; dogs are ‘scary’. For ‘cute’, you can only use pets like cats and hamsters.”
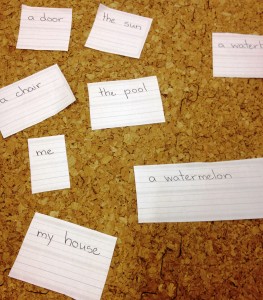
The week after a class of LW Book1 students had discussed the pets in “My Pet” and “AJ Picture Dictionary”, I prepared strips of paper with “a cute pet”, “a big pet” “a funny pet”, “a dangerous pet” “a beautiful pet” etc. I scattered them on the floor and had the students choose one. With “AJ” open, students could copy the English for the pet that they felt matched their paper. Then they drew the picture in the available space.
With this activity:
・students on the whole had no trouble remembering the adjectives of the previous lesson.
・students by and large were able to read their papers by applying basic phonics rules. Other students helped those students who struggled with the written English.
・at any one time, all the students worked on different papers. For simplicity, it’s tempting to give students all the same paper, and have them work together on them one at a time. The disadvantage of this is that weaker students rely too much on stronger students – to the point where even their choice of pet is not their own.
Once students had completed as many papers as possible, papers were glued onto larger paper for a “collection” of pets. This was then followed by individual presentation.
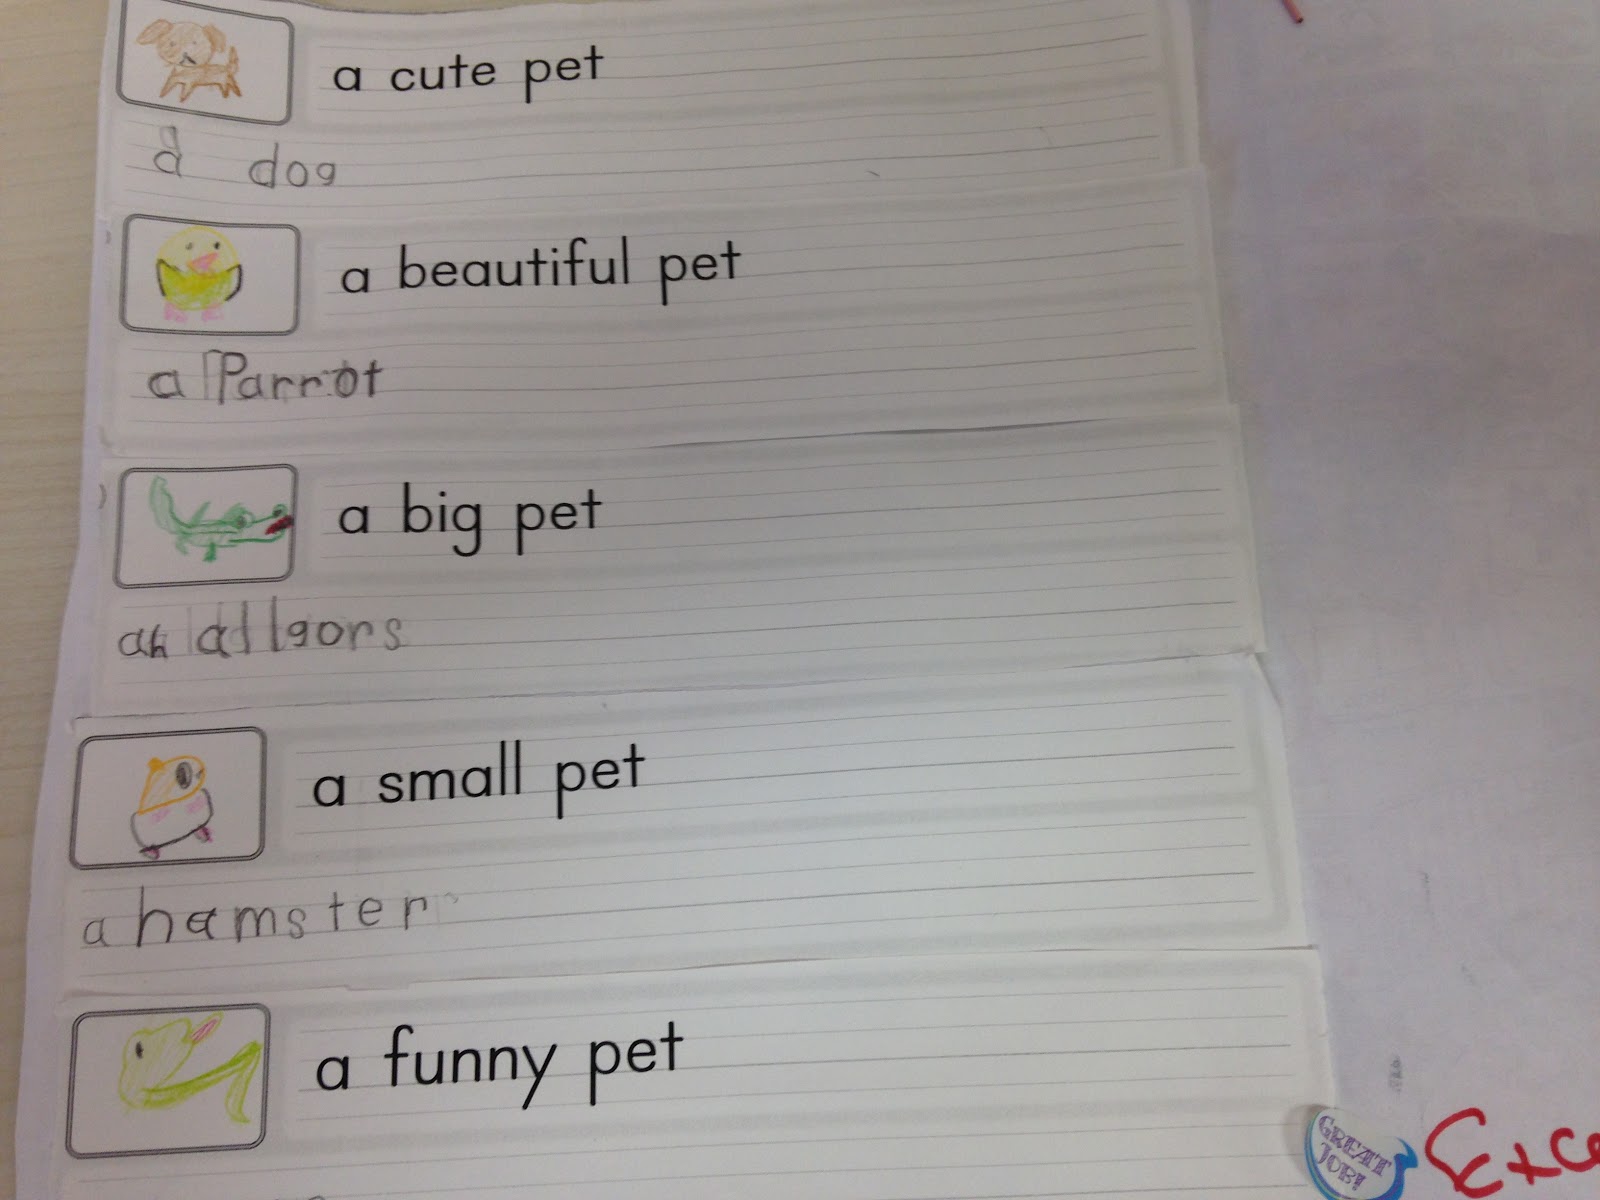
I like the students’ individual choices, their pictures, and the effort they put into copying the English from AJ onto 4-line paper. Their presentations were good too. By all means, take a look!
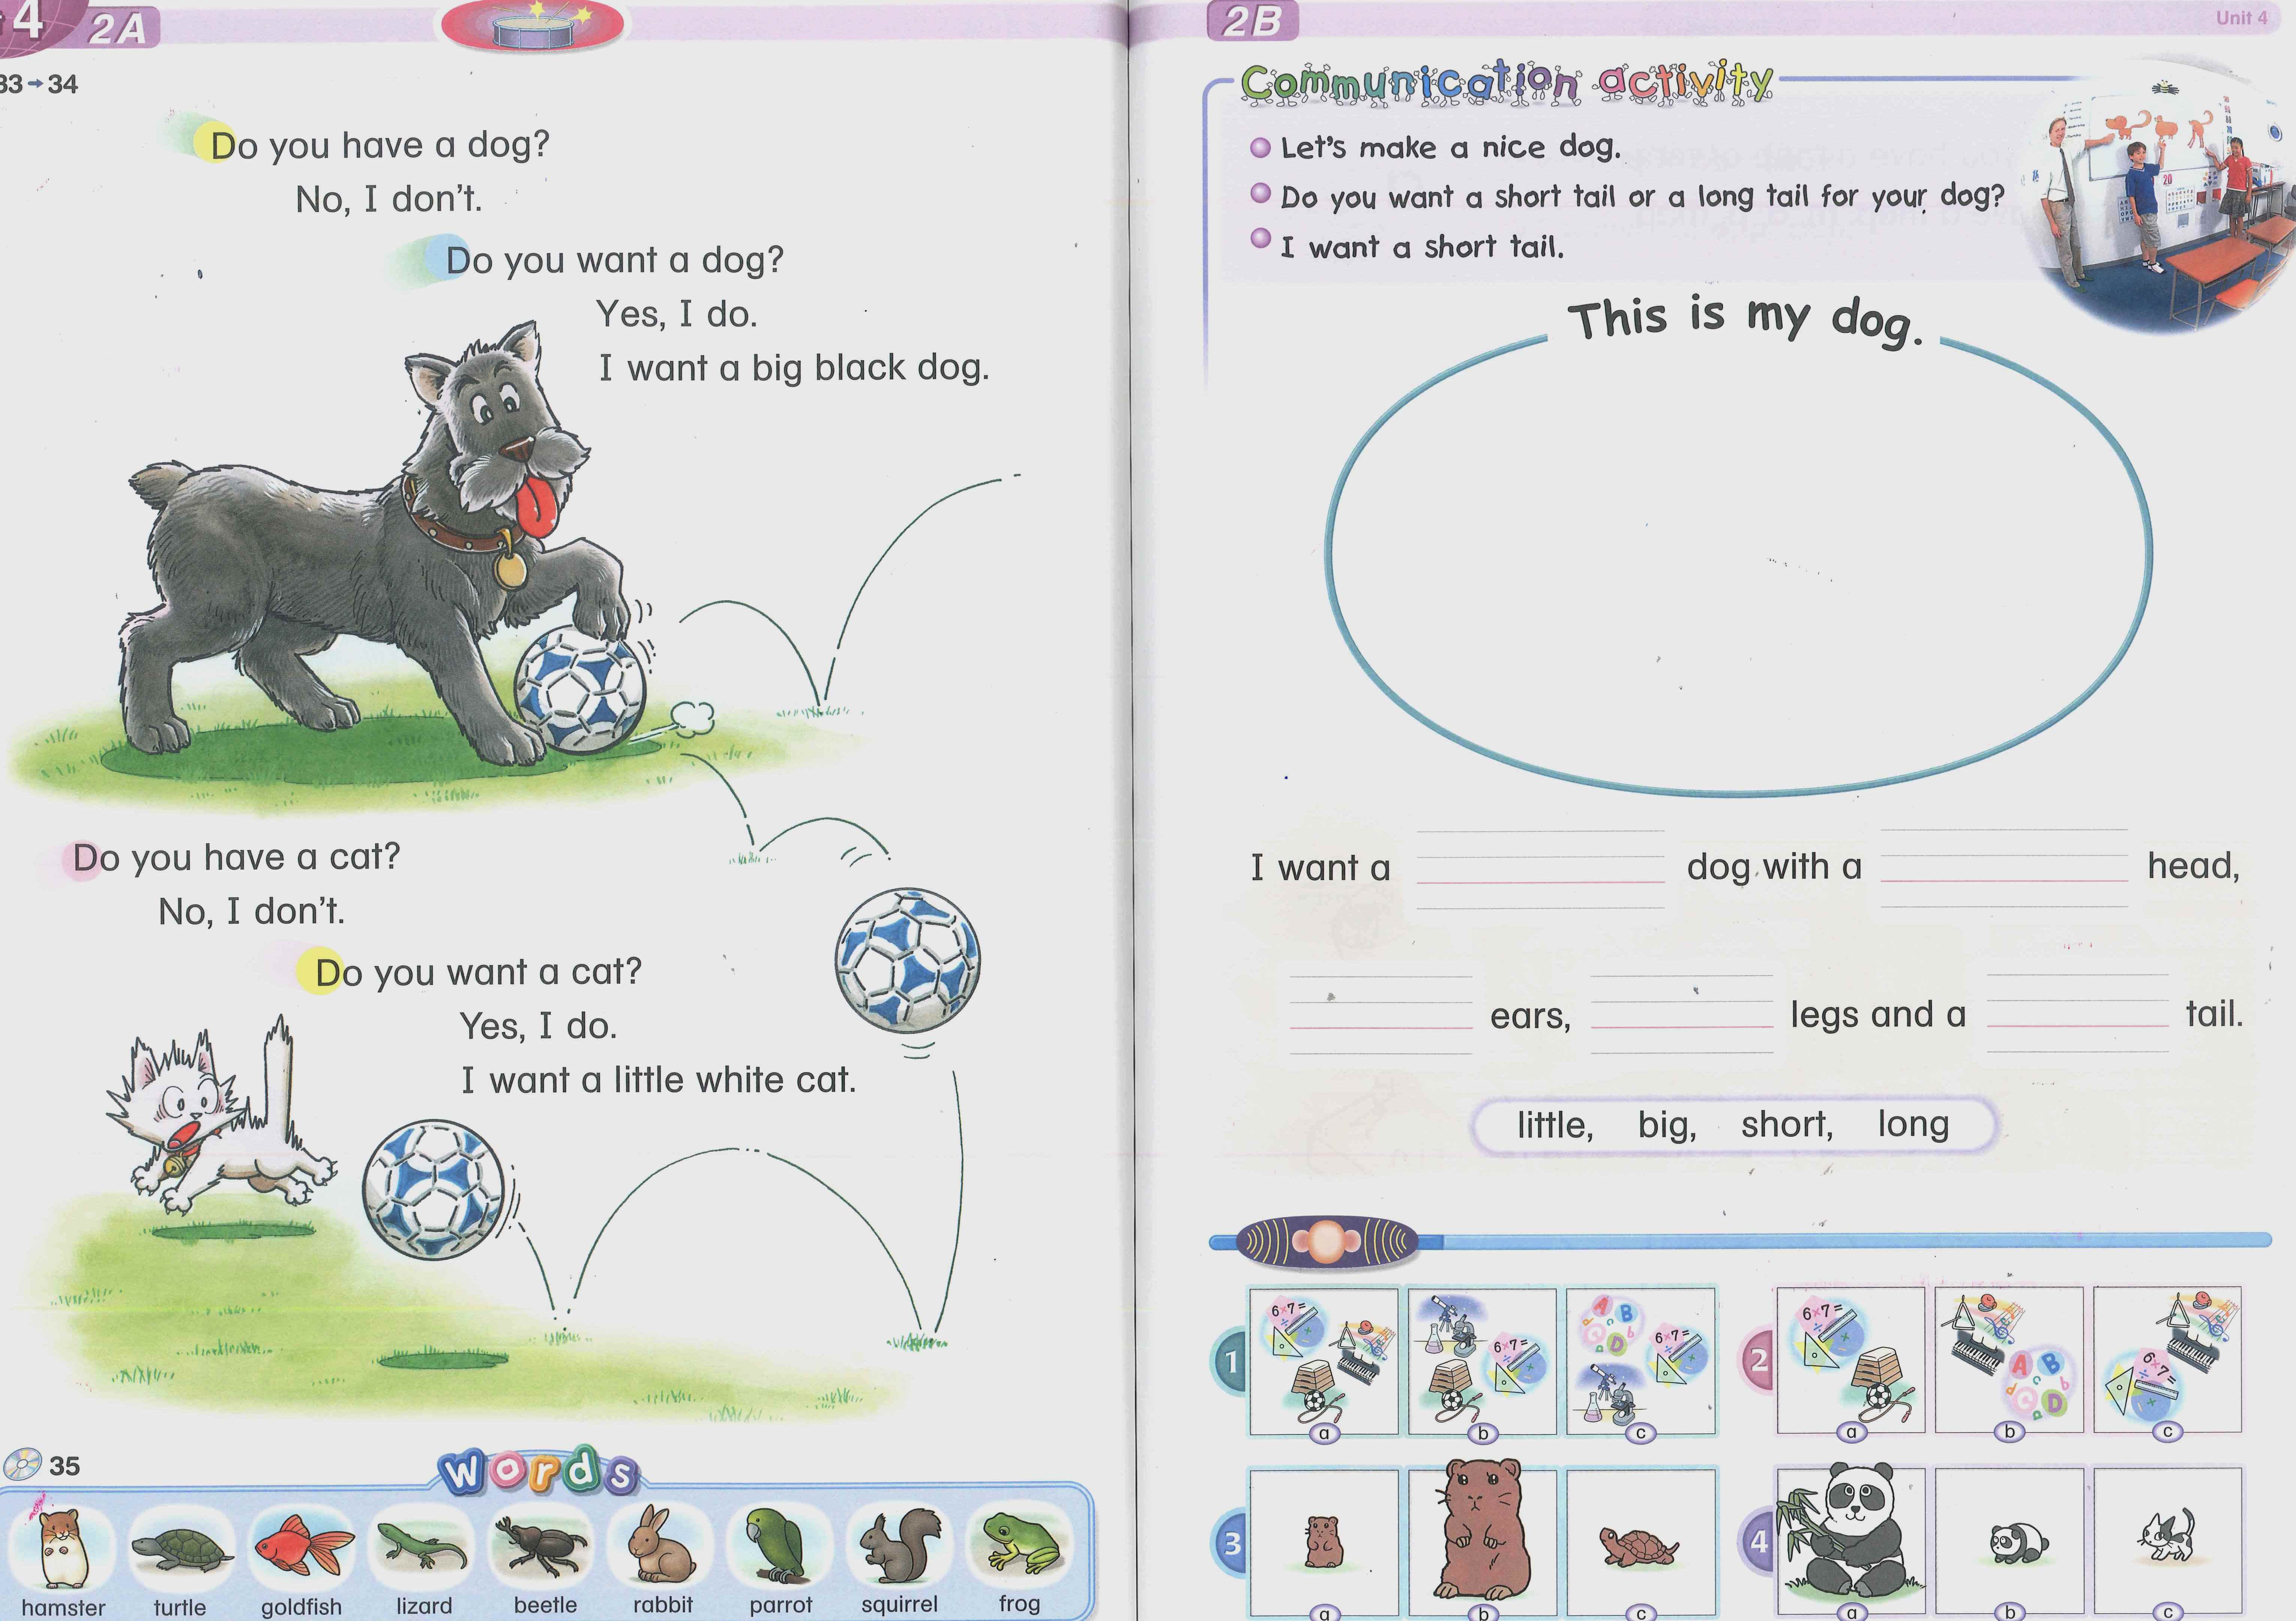
21. “Let’s Make a Dog” – Book 2 ACTIVITY SHEETS (Unit 4-2)
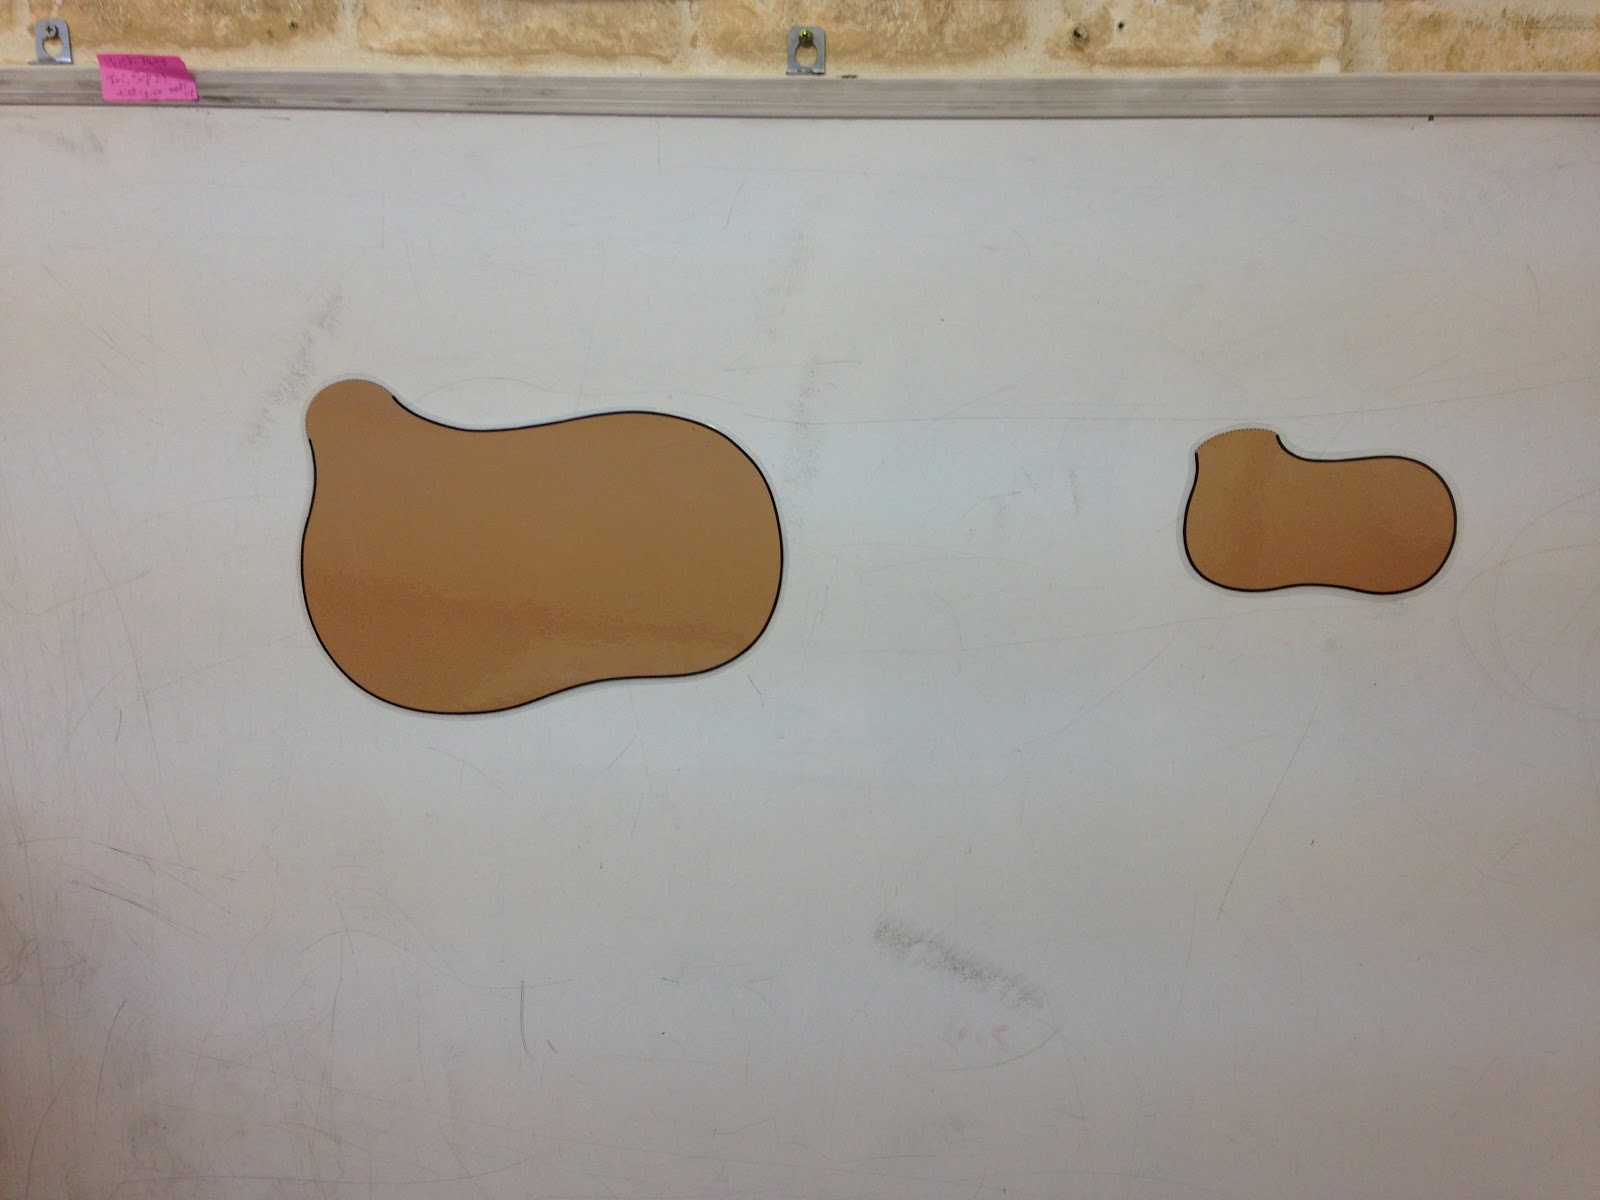
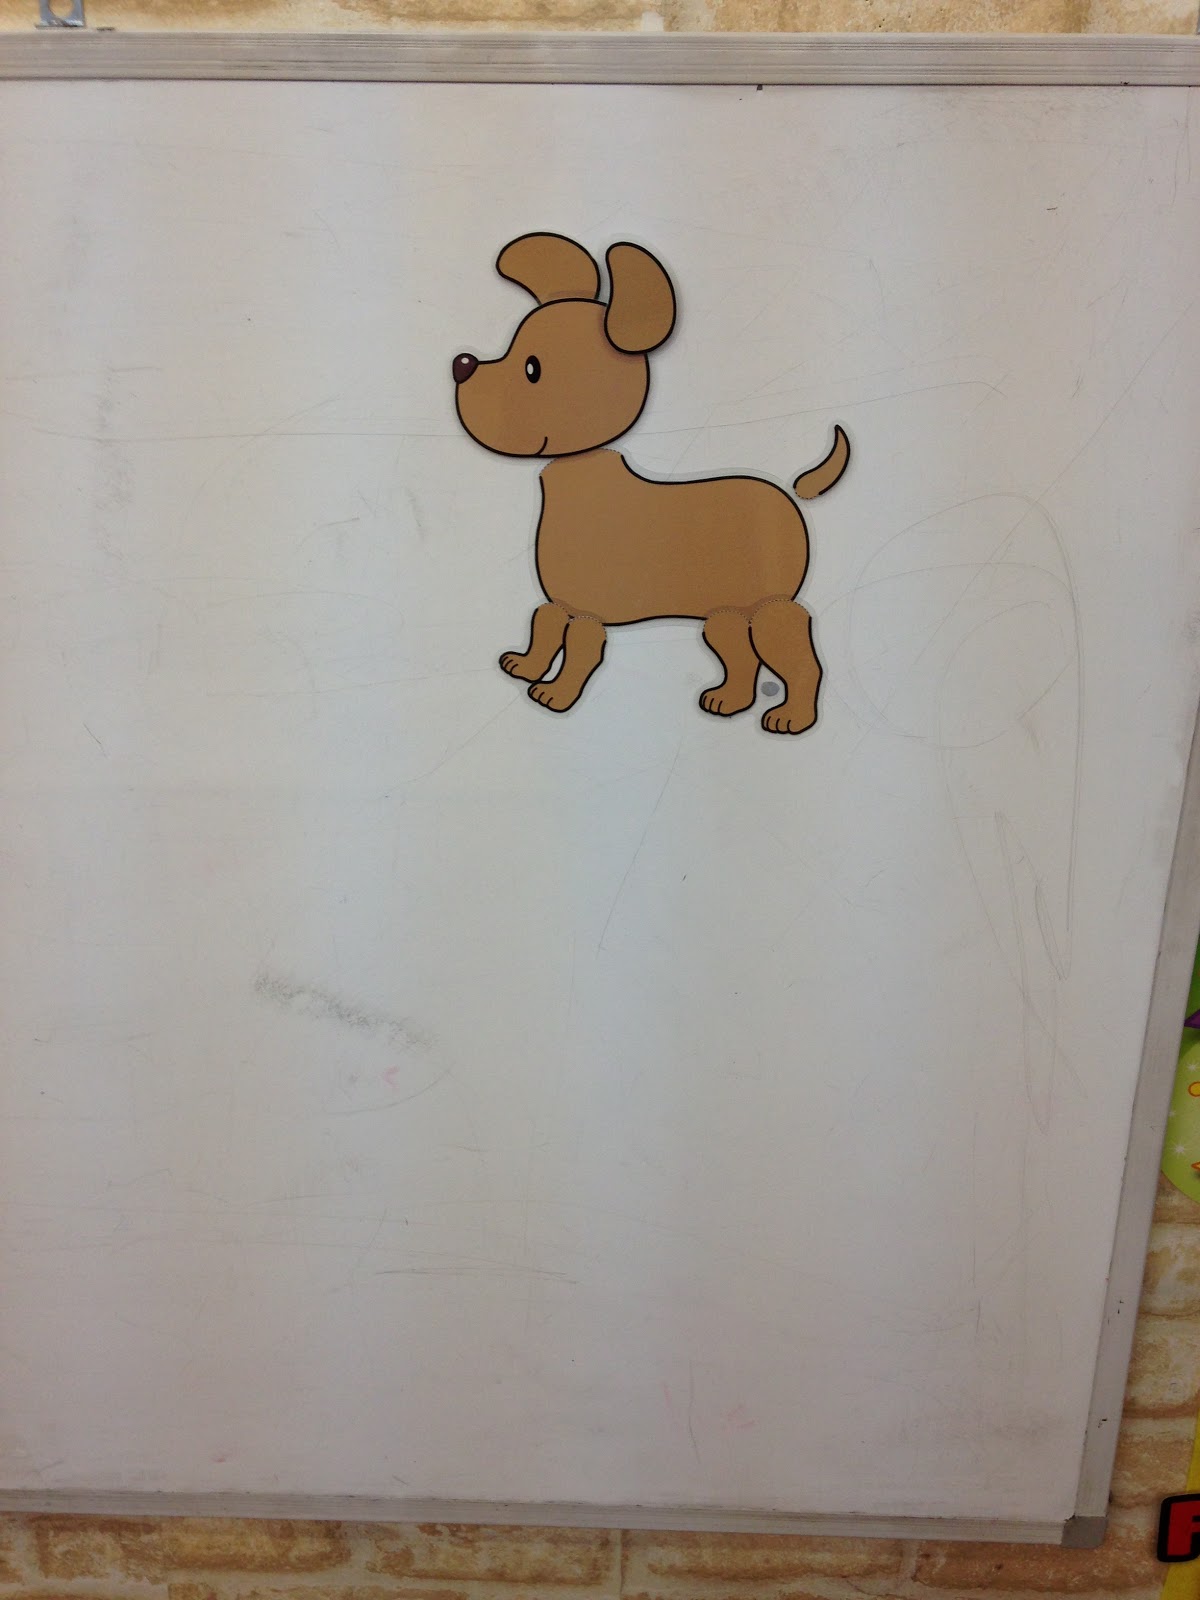
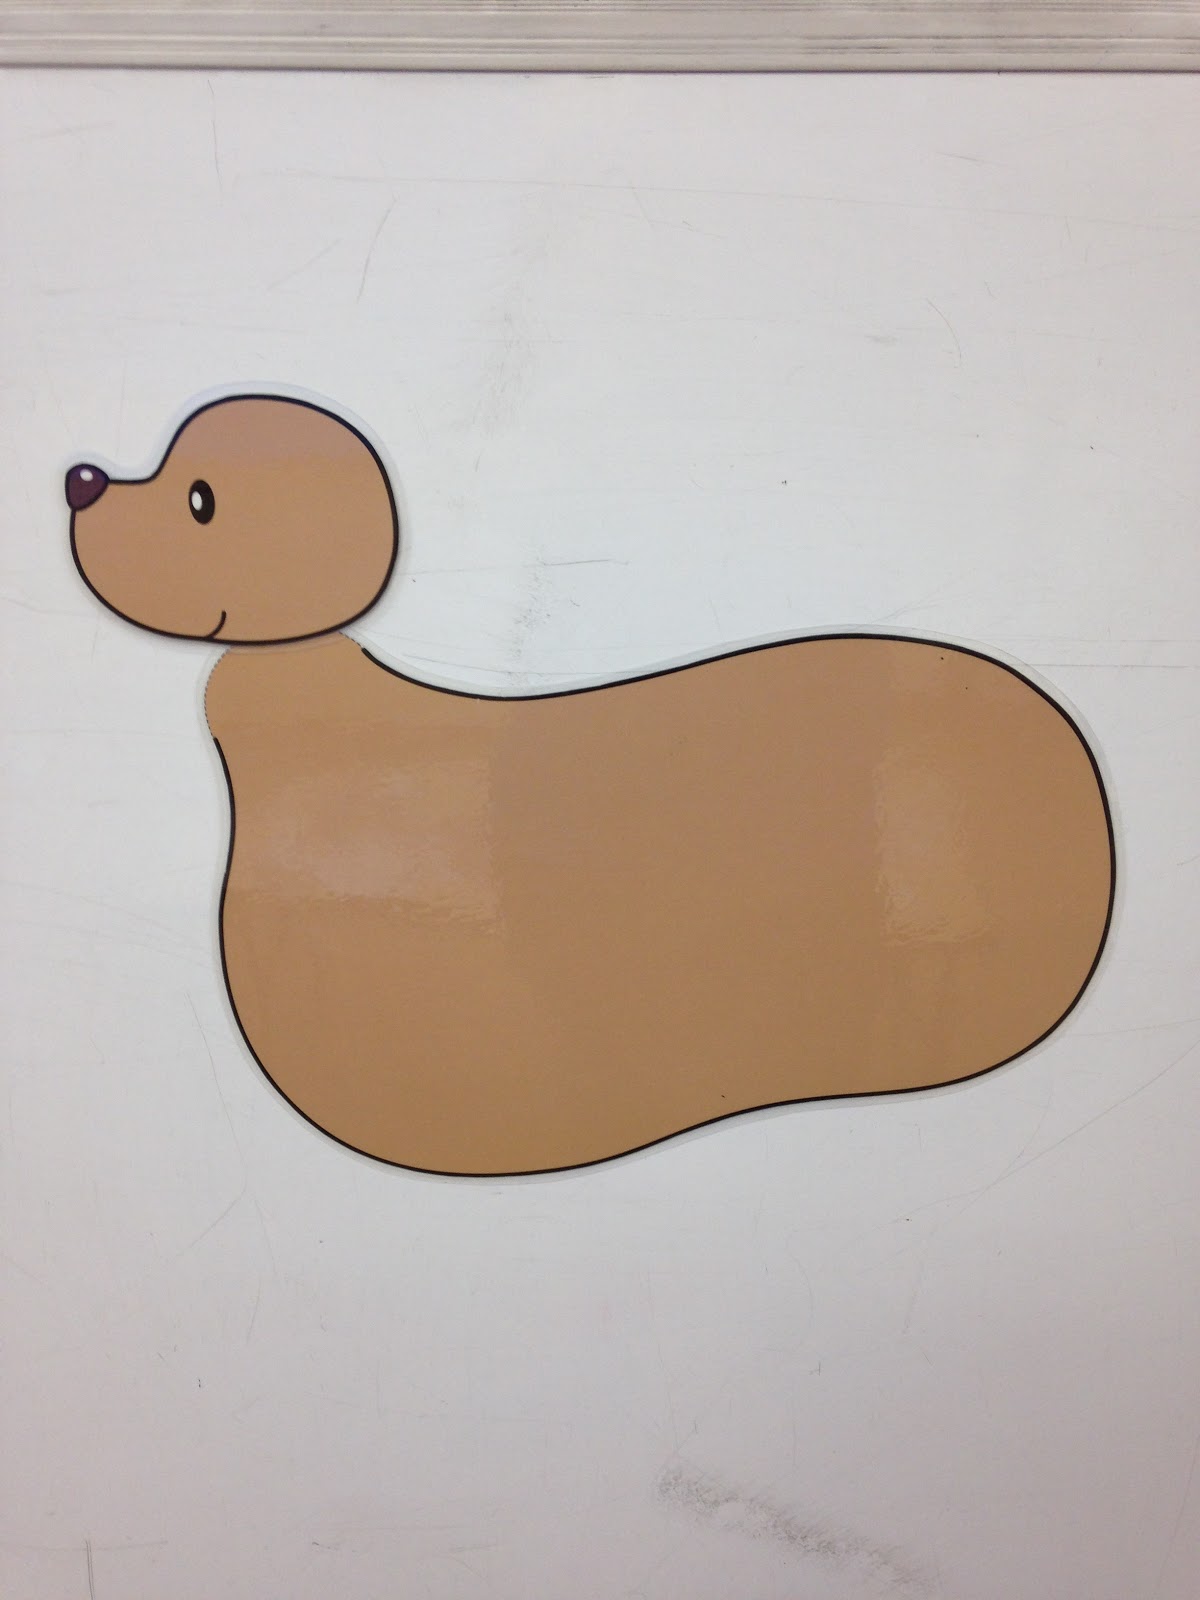
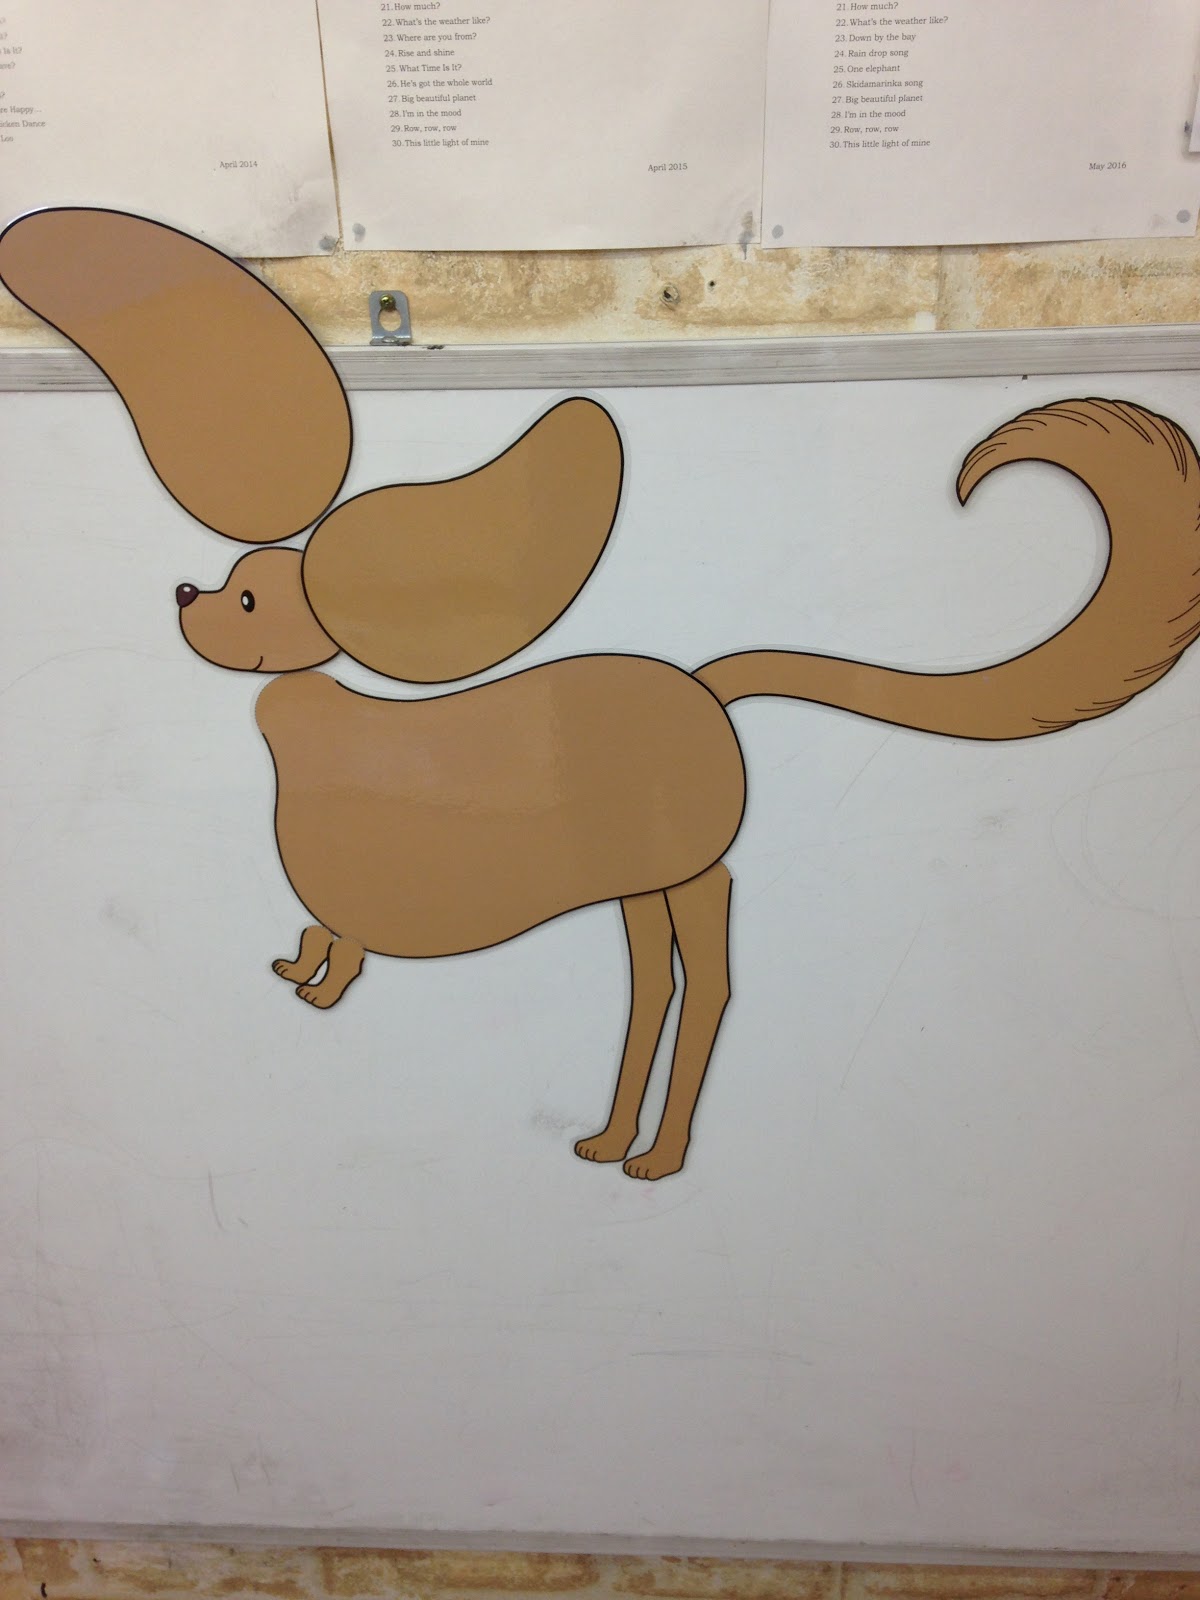
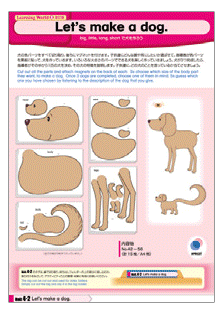
The idea behind this material is for students to cooperate as a class in the creation of a dog using the English “big/small/long/short” and “body/head/ears/legs/tail”. The dog’s body parts are added one at a time. Each part is either very big or very small, so the kids can enjoy the comical aspect of creating a rather disproportionate dog. In fact, the more outrageous-looking the dog becomes, the more liberty students find with their creativity. Short legs on a big body with a small head, small ears but a very long tail…. All rules of “normality” are out the window, and acceptance of the unusual or different is experienced. The more excited the students become, the more enthusiastic they become to produce the necessary English.
I recently tried the activity with two “nen-cho” classes (5 year olds) at a kindergarten. Each class had 25 students. The second class was more successful than the first. The key for success with this activity lies in the start.
In the first class, the first part of the dog I presented to students was the body. I placed both the large body and the small body on the blackboard, and asked students to choose one. They decided on the small body.
Thereafter, the students would only choose small body parts. They had a difficult time accepting the possibility that the dog could have big ears, long legs or a long tail. In their mind, a small body meant a small dog, and so everything had to be small. Even though I tried to encourage them to try long legs or big ears, they adamantly refused. All parts HAD to be small. The result was a very average-looking small dog:
Worse still, students didn’t use much English, and they didn’t particularly seem to enjoy the activity.
For the second class, in order to encourage more creativity and English of course, I presented initially a large body AND a small head.
This way the dog was already “unusual”, and so the students found it easy to be creative. Their imagination soared and the debate on whether the dog should have a short tail or a long tail, or short legs or long legs, was heated. The students thoroughly enjoyed this activity.
This activity generates a good amount of English when students are prepared to accept the “unusual” or “outside the norm”. This is perhaps challenging for kindergarten kids – unless you show them clearly from the outset that it’s OK.
4. What did you do in your summer vacation?
Every year at this time I’m always frustrated by my inability to create an interesting ”What-did-you-do-in-your-summer-vacation” lesson. The difficulty with these types of post-vacation lessons is that the content depends entirely on the students, and no two vacation experiences are exactly the same.
It’s not easy to have beginner students speak in English about their summer vacation in a meaningful way because they lack a lot of the vocabulary and expressions that they need in order to do so.
Perhaps “I went to ~” is a nice and simple expression to build a lesson around, because most students went somewhere – often to interesting, faraway places. But then what do you do with those students who are convinced that they absolutely didn’t go anywhere? A lesson involving “I went to ~” lesson requires all the students to have gone somewhere in order for the lesson to work, so we as the teacher simply decide for some unlucky and understandably unenthusiastic students that they have to say “I went to the park” or “I went to the supermarket” just so that the lesson can proceed as smoothly as possible…
And within such a lesson, even when students have announced “I went to Guam”, the more interesting information about what they saw, ate, and did there isn’t forth-coming.
Again this year, I’ve been confronting these frustrations – and to my surprise, I’ve been getting a fair amount of positive results with this year’s lesson idea. So it might be worth sharing with you here.
I realize of course that by the time you read this, your “summer vacation” lessons are probably finished, and you’re well back into your textbook. However, winter is not far off. The same idea can very well be applied to winter vacation.
This idea involves: drawing, speaking, simple one-word reading, simple one-word writing (i.e copying), gluing and individual presentation to the class; it’s suitable I believe for your elementary school students, and younger students with experience.
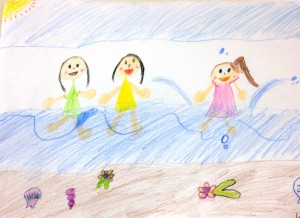
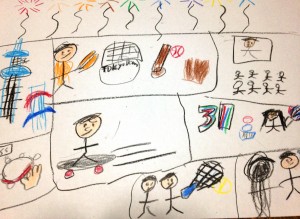
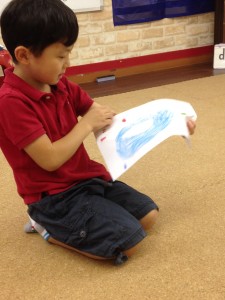
●STEP 1: On A4 paper, have students draw a picture/pictures of their summer vacation.
Allow a good amount of class time for this – perhaps 10~20 minutes. The more time you allow, the more ideas students can express.
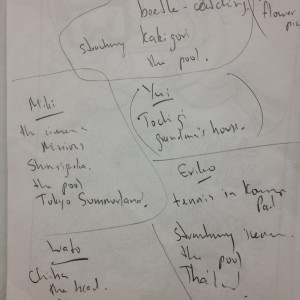
●STEP 2: Some students will finish before others. Take students who have completed their drawings aside on an individual basis – a couple of minutes each – and get information from them about what they drew. Make notes for your reference.
These notes were made during each brief conversation I had with each student. You can see the students’ names and their answers to such questions as “What did you draw?” “What’s this?” “Where is this?” “Who is this?” “Is this ~?” Get as much information from each picture as possible.
It’s important that your conversation with each student is done away from other students because:
– you don’t want other students to get too many details on their classmates’ vacation just yet.
– some students may express less information if they know other students are listening to their conversation with you.
●STEP 3: Once all students have completed their pictures and have spoken to you in private about their drawing, have them present their drawing to the class.
The conversation they had with you in private should be enough practice for students to present the content of their summer vacation to the class. Encourage other students to ask questions – the same questions you did: “What’s this?” “Who’s this?” etc.
●STEP 4: Write all of your notes of your earlier conversations with students onto 4-line paper – with a free line for students to copy your handwriting.
Depending on the size of your class, you may need to complete this step during your preparation for the next lesson. That’s OK. This activity idea can be spread over two lessons.
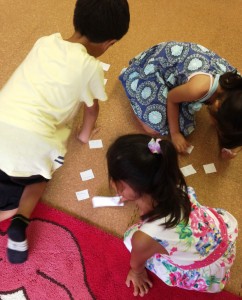
●STEP 5: Scatter the paper on the floor. Students need to find their papers, and bring each one to you for confirmation with the English “Is this my paper?”
The written English is English that the students produced for you during your conversation. Students with even the most basic phonics experience should be able to find their papers without the need for help.
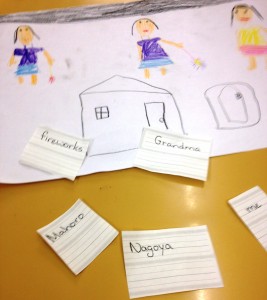
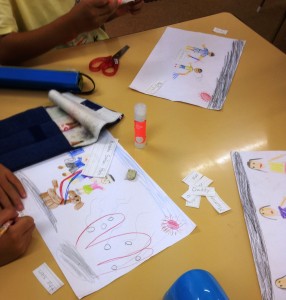
●STEP 6: Students copy the English on their papers, cut away your English with scissors, then glue their English onto their pictures.
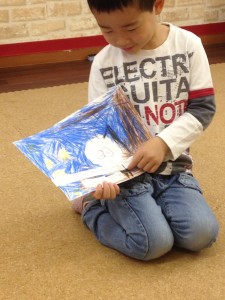
●STEP 7: Students present their summer vacation pictures to the class one more time, this time reading the English that they wrote and glued.
I found this activity positive because:
- it can cater for all the students, regardless of their experience.
- it can cater to a variety of vacations. Students don’t necessarily need have “gone” somewhere.
- it involves a variety of skills.
- it involves student-to-class presentation.
By all means, give it a try after the winter break!


![img_l[1]](https://www.apricot-plaza.co.jp/ap_admin/wp-content/uploads/2016/09/img_l1.jpg)
