
- 54. 10 Useful Pieces of Advice for Teaching with LEARNING WORLD #9 & 10
- 55. “Happy New Year!” “I don’t say that.”
- 53. Halloween 2019
- 52. READY Workbook Pg. 17
- 51. English-Uplift 1-Day Seminars
- 50. READY Workbook - vocabulary copying activity
- 49. 10 Useful Pieces of Advice for Teaching with LEARNING WORLD #8
- 48. 10 Useful Pieces of Advice for Teaching with LEARNING WORLD #7
- 47. 10 Useful Pieces of Advice for Teaching with LEARNING WORLD #6
- 46. 10 Useful Pieces of Advice for Teaching with LEARNING WORLD #5
- 45. 10 Useful Pieces of Advice for Teaching with LEARNING WORLD #4
- 44. 10 Useful Pieces of Advice for Teaching with LEARNING WORLD #3
- Kindergarten aged students
- Lower Elementary-school aged students
- Upper Elementary-school aged students
- Junior High and older students
- Others
30. DRAW & LABEL
Once a week I have a 5 year old girl who has been coming to English lessons for 2 years. She joins a class of other students more or less the same age as her who then go home 1 hour before she does. So I have a weekly 1 hour one-on-one with her. We often spend this time working on her reading skills.
Last week she was feeling tired and not very motivated (perhaps both of us?) so I simply gave her a large piece of paper to draw a picture – a picture of anything.
Sitting and interacting with her as she drew, she showed me her artistic impressions of a recent sports festival. As she worked I wrote the vocabulary items of her pictures on small papers.
Once her pictures were finished I handed her the papers and a glue stick: ”Please glue these papers onto your picture”.
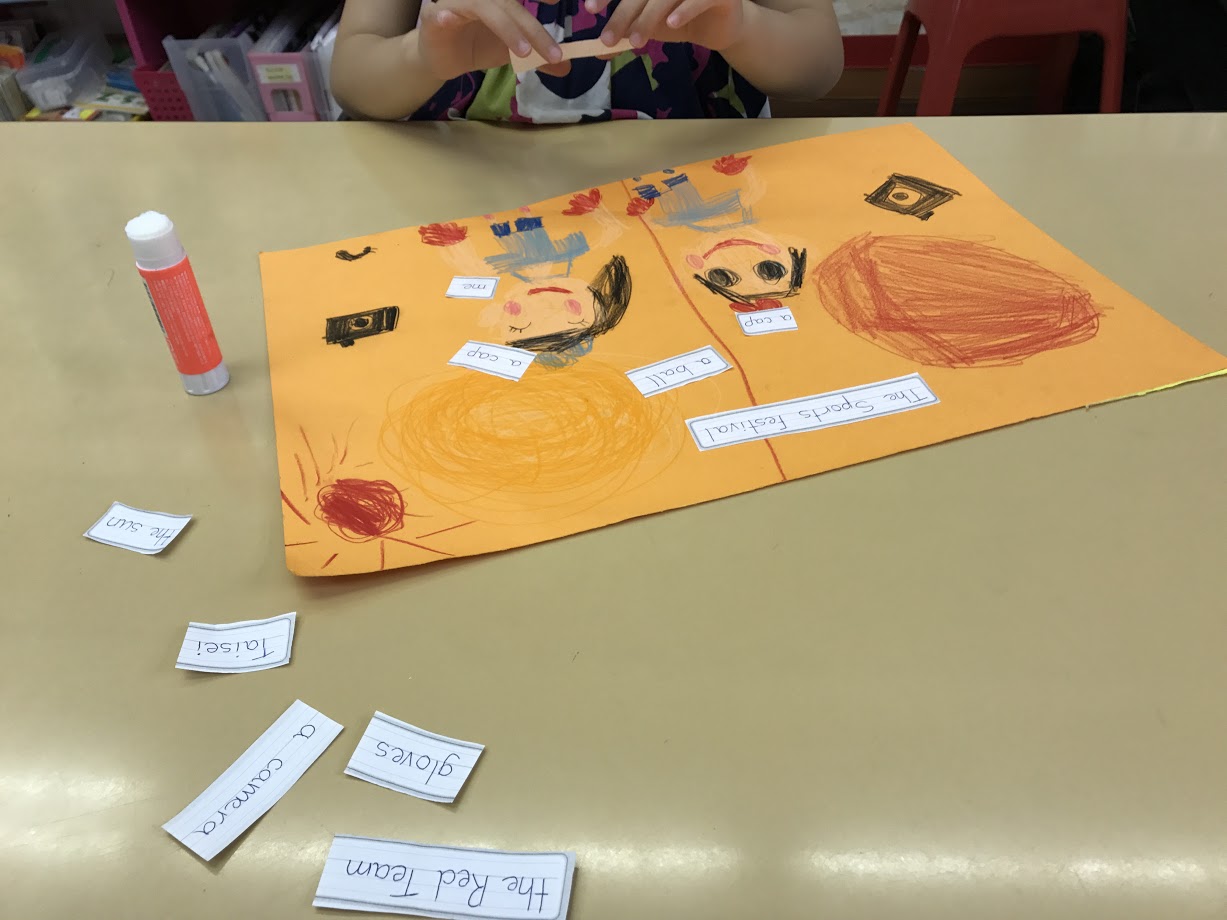
Now, for a young learner who had never seen the written English for much of the vocabulary in her picture, I had expected this task to be quite challenging. But to her credit she employed basic phonics knowledge and 3-letter word reading experience to make logical guesses on what each paper said.
She was able to glue all the English papers onto her picture without my assistance.
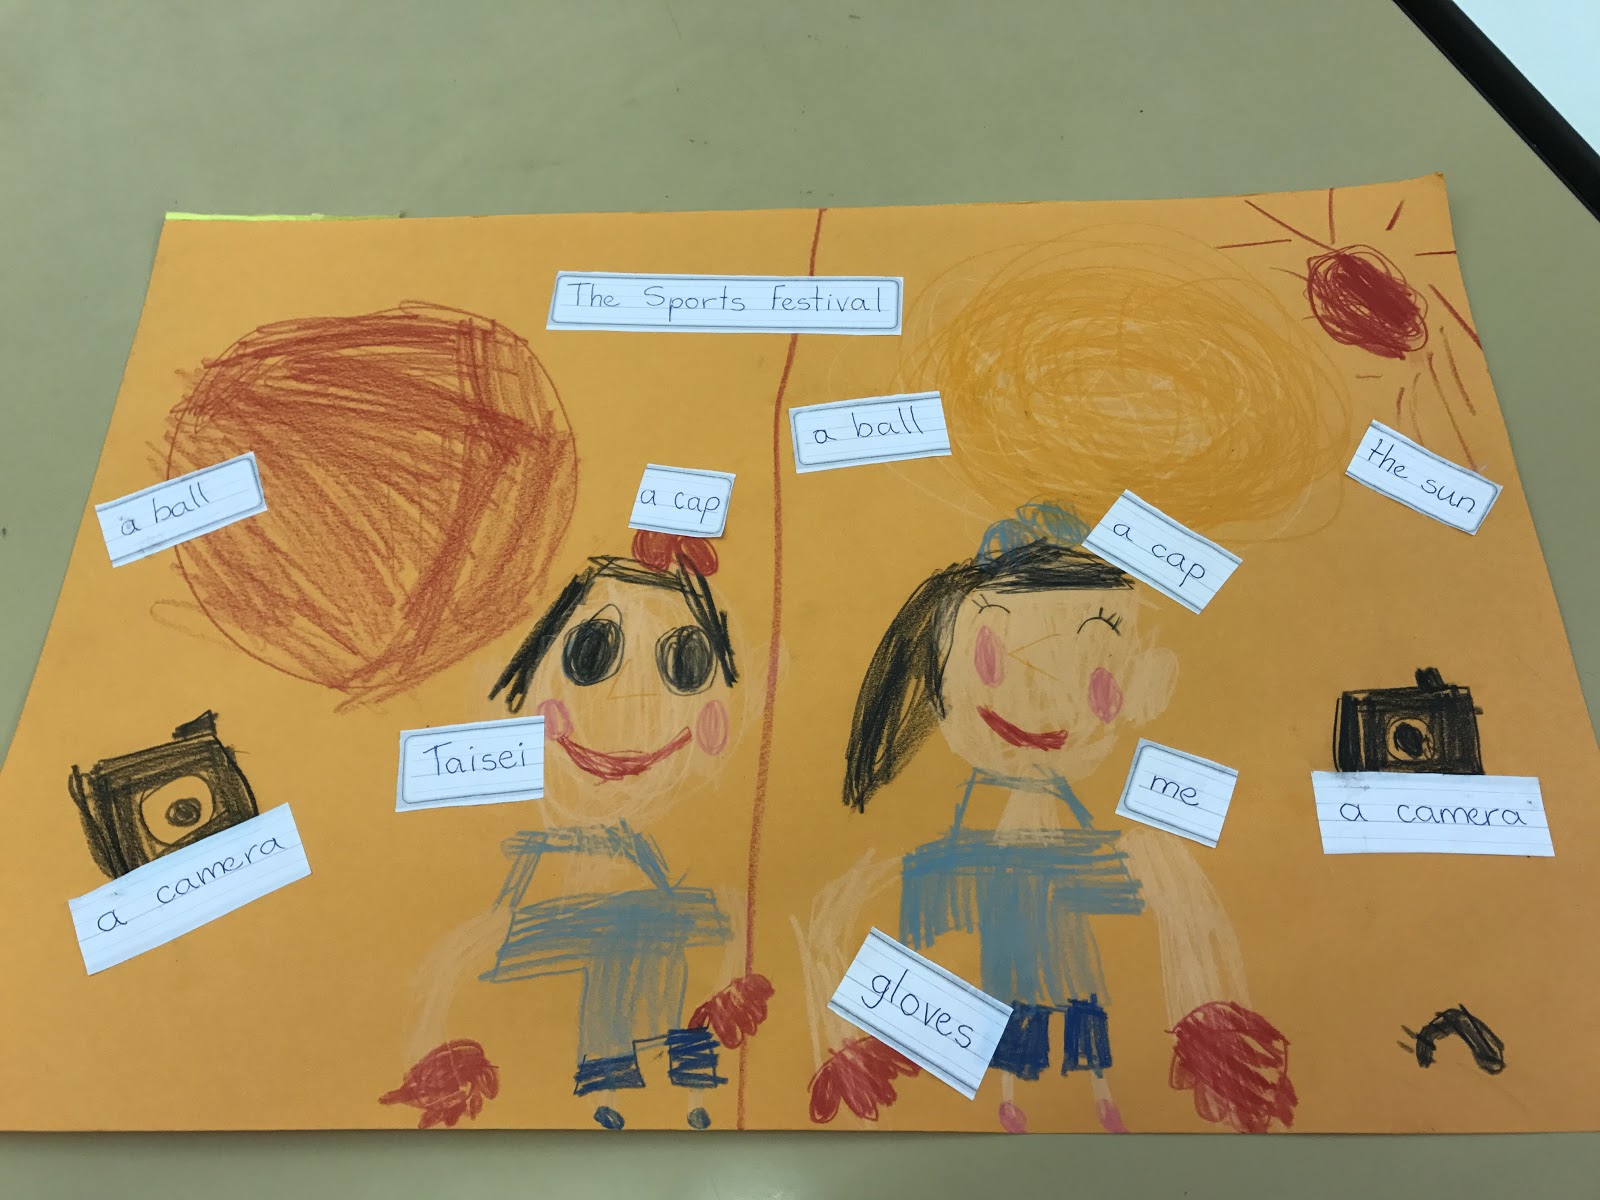
I believe she enjoyed the activity because she had the freedom to choose the content and she felt success in her ability to read all of the papers. Towards the end of the hour I checked her ability to read these individual words again on the whiteboard.
Despite both of our lack of motivation at the start of the hour, we had together made our time quite productive!
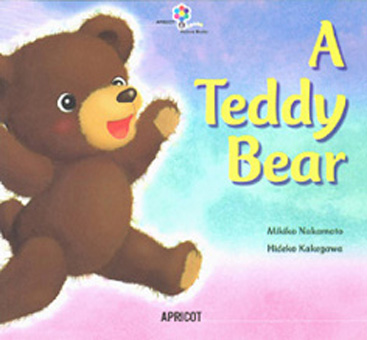
22. APRICOT Picture Book “A Teddy Bear”
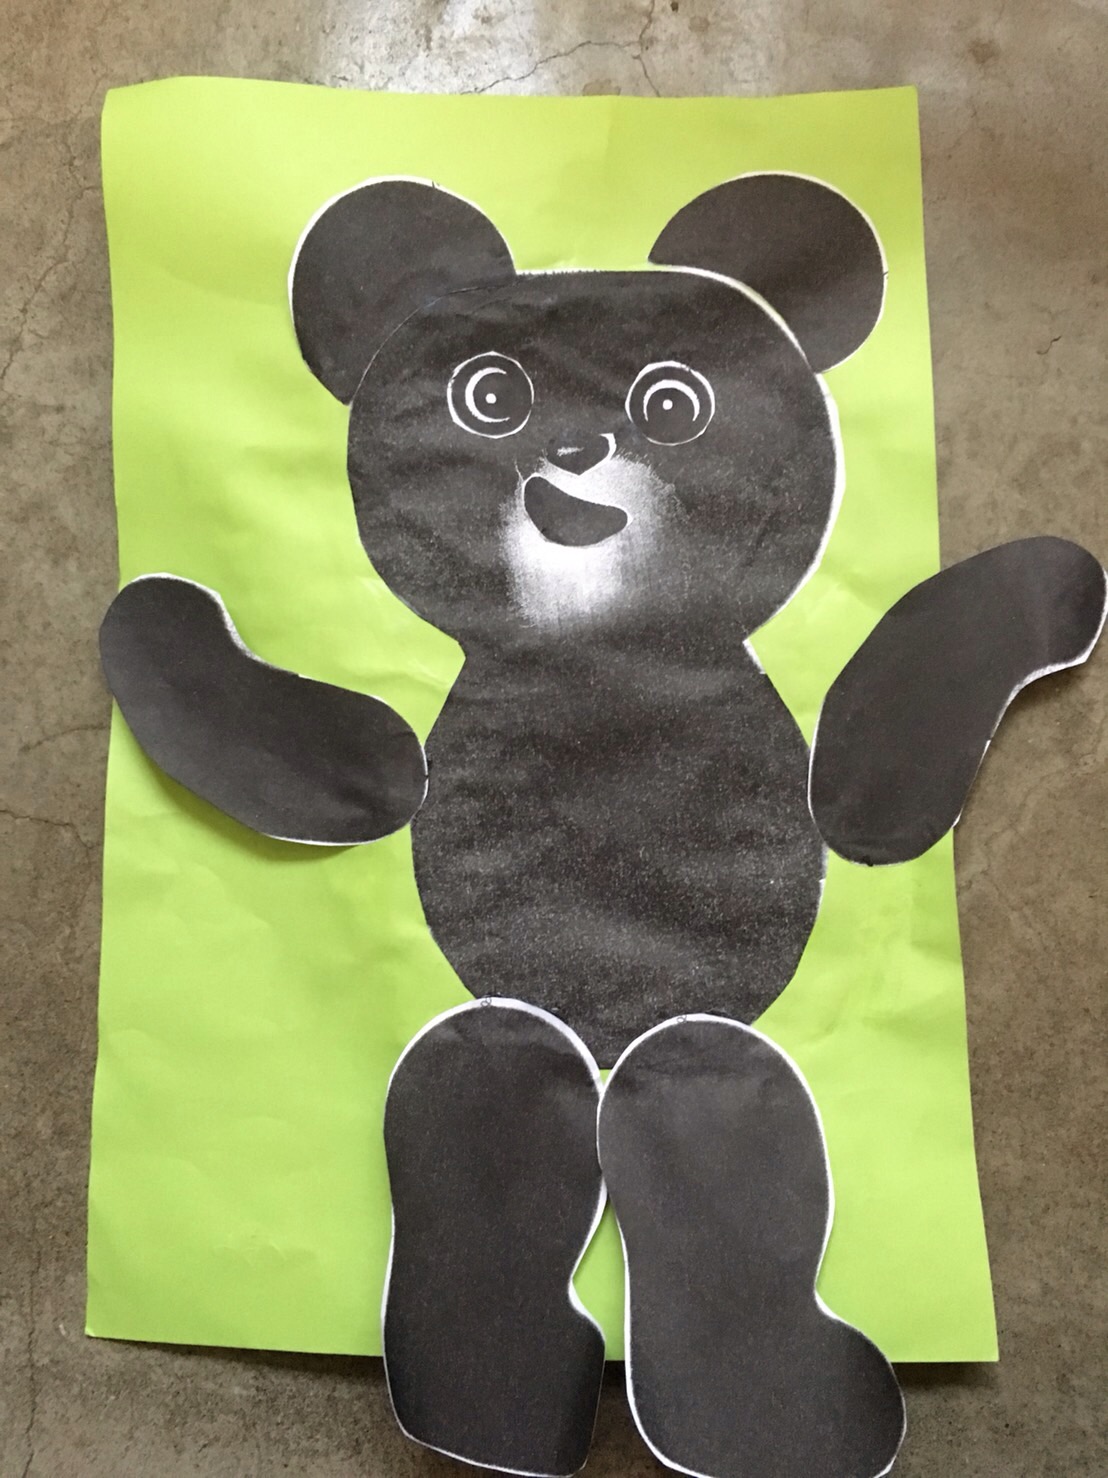
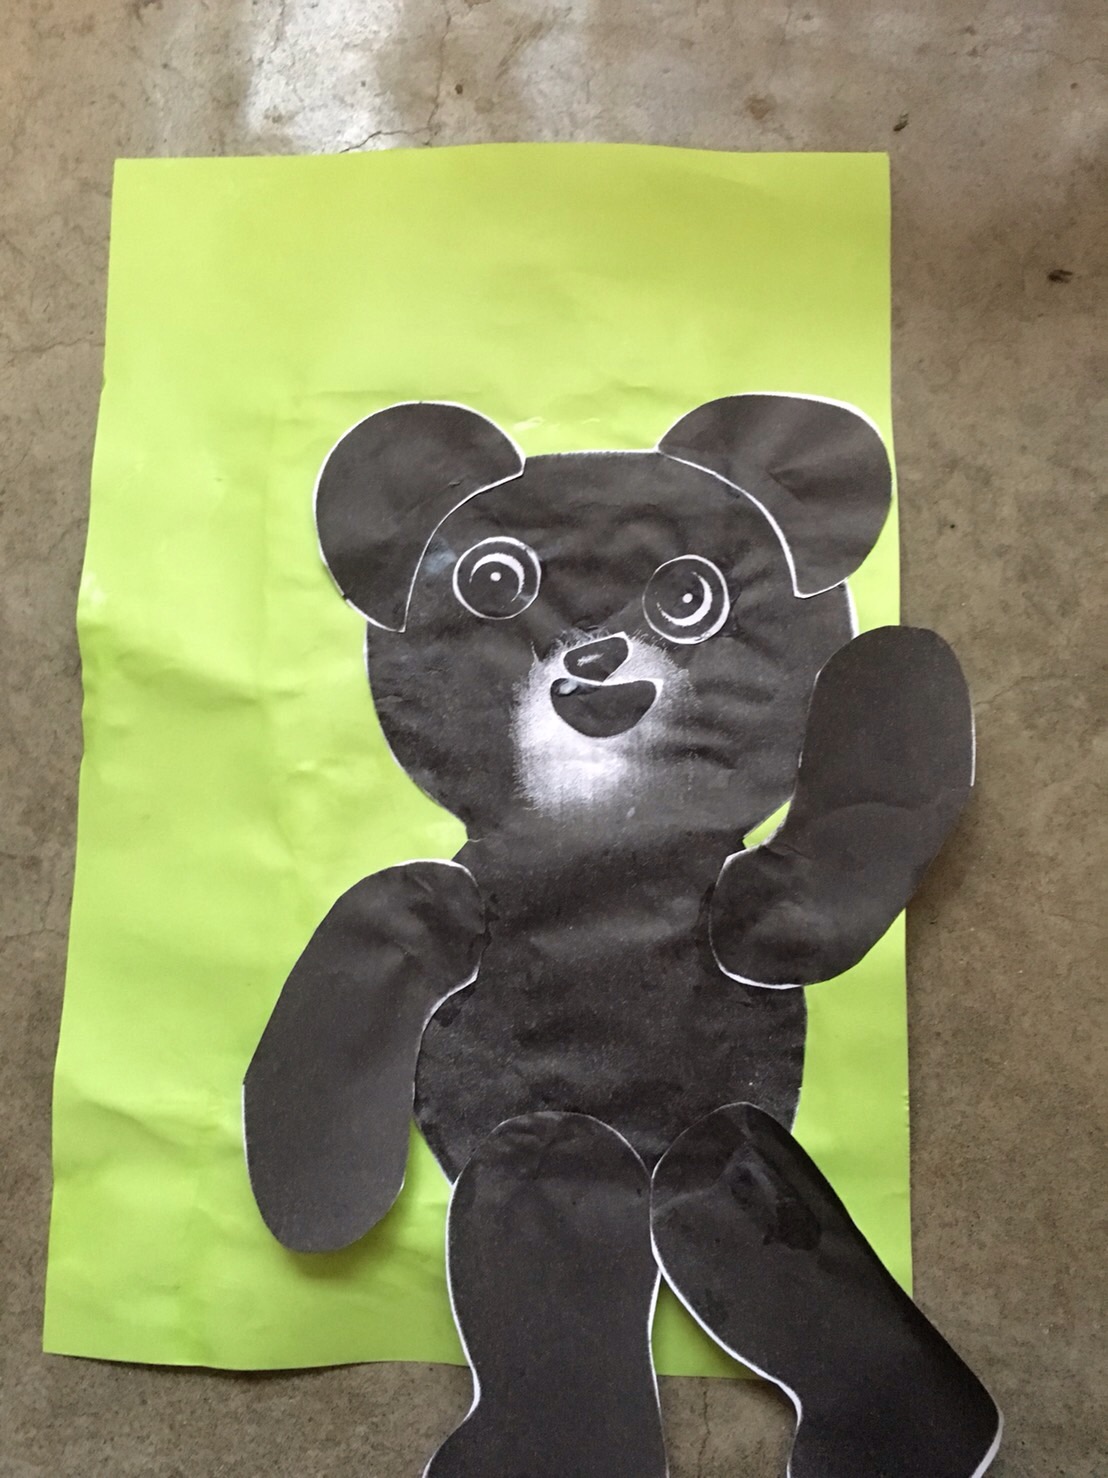
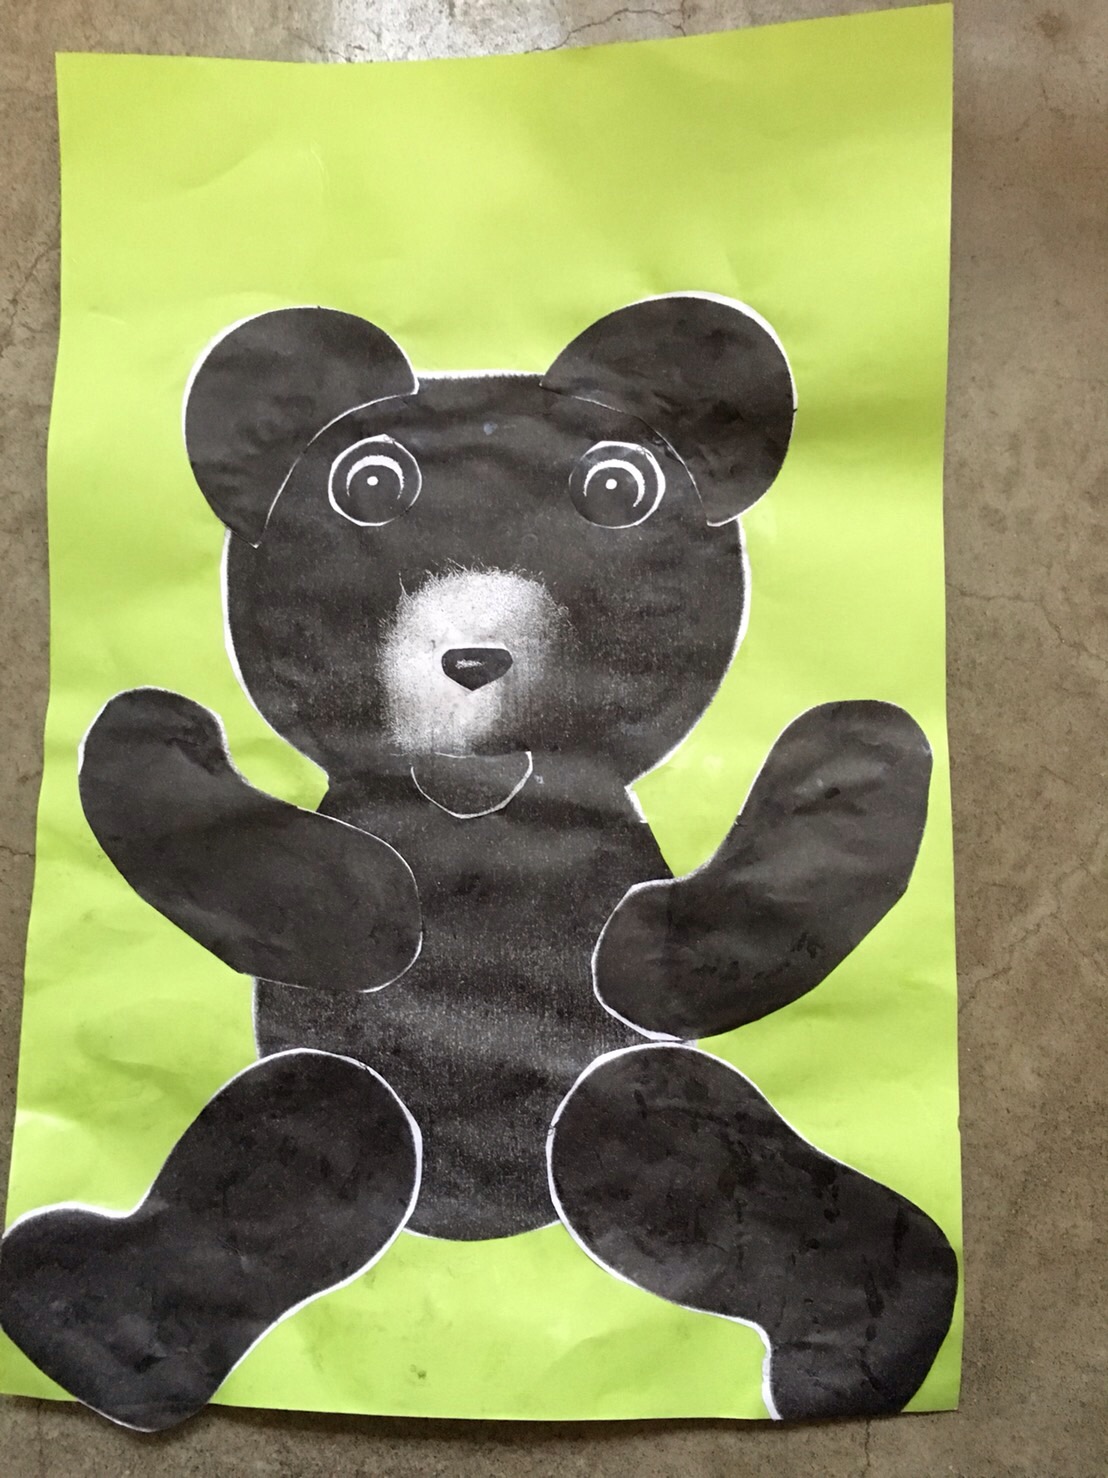
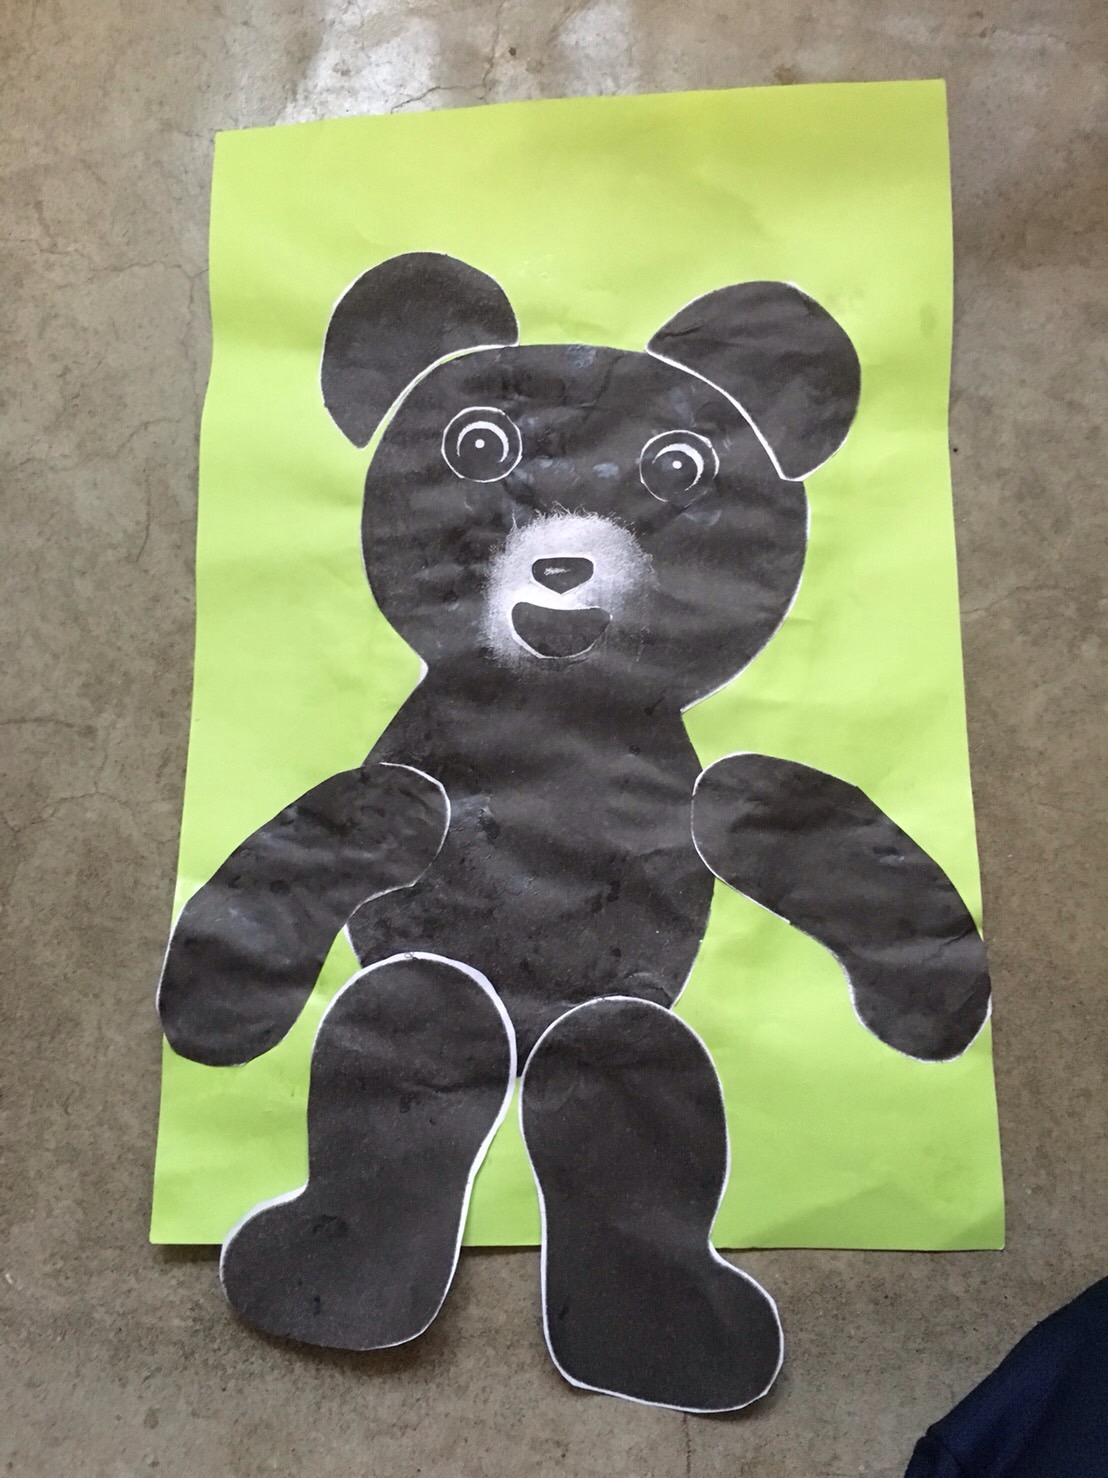
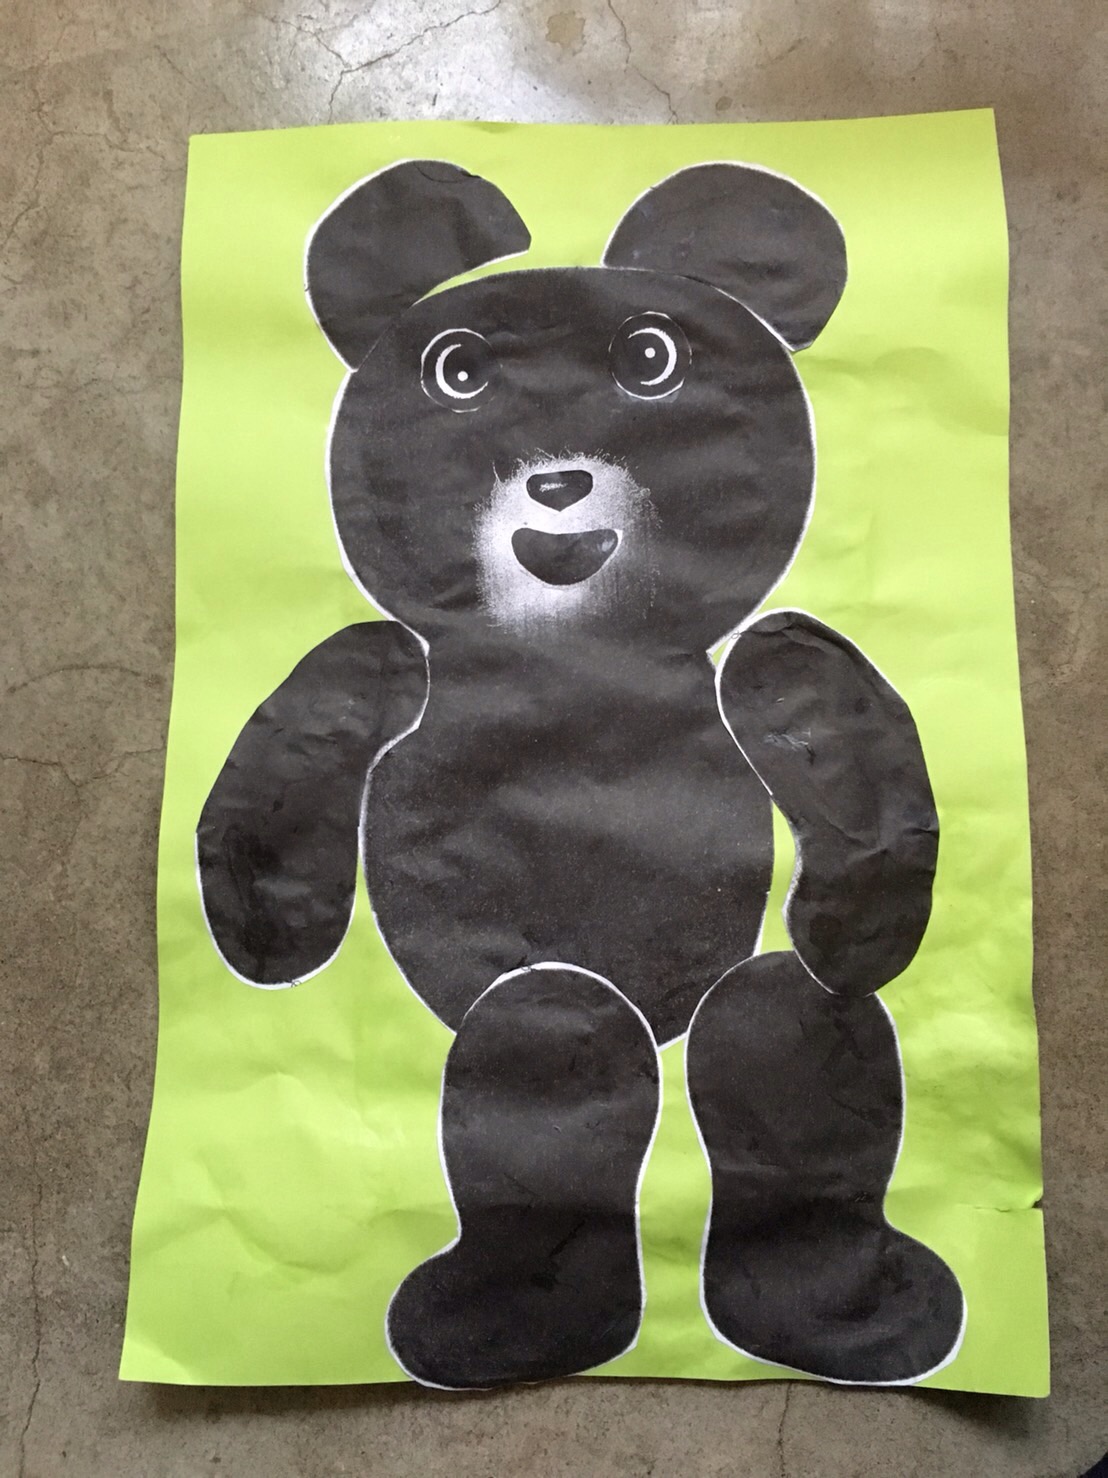
I recently presented the APRICOT Picture Book “A Teddy Bear” to a class of 15 kindergarten students.
The final activity was for the students to make their own teddy bear using the photocopiable body parts printed on the last page. To assemble the bear, the students had to ask the teacher(s) for each body part: “Eyes, please”, “A nose, please” etc.
All in all, it’s a simple and fun activity that provides students with a reason to use the English for body-parts.
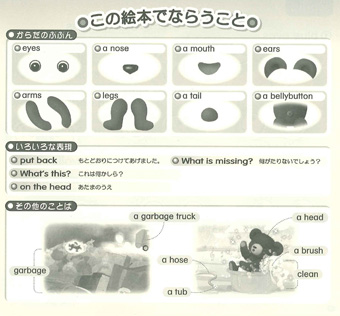
Yet, whenever I’ve done this activity in the past I have always experienced some difficulty with it. Mainly this: the vocabulary – body, eyes, ears, nose, mouth, arms, legs – is quite a handful for young learners. There is a lot to remember, students sometimes confuse “eyes” with “ears”, and “arms” is for some reason easily forgotten. As a result, whenever students have come to get their bear’s body-parts from me, I’ve needed to remind them what to say: “Eyes, please”, “Ears, please”, “Arms, please” etc. Reminding students what to say in a situation is normal of course, but in this activity it’s frustrating because this is precisely the English I want students to say independently, and once the bear is complete, there really won’t be another opportunity.
So this time, I slipped in a few other activities prior to the bear-making activity for support, and I’m happy to report that the students did much better than previously! The activities are described below, and can easily be spread out over two, three or four lessons depending on lesson length.
ACTIVITY 1: The Picture Book “A Teddy Bear”.
This material serves, among other things, to present the vocabulary of body parts in context.
The vocabulary’s input was supported by students saying each item and showing their location on their own body.
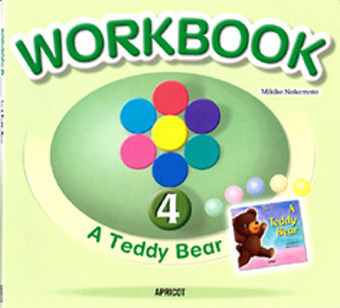
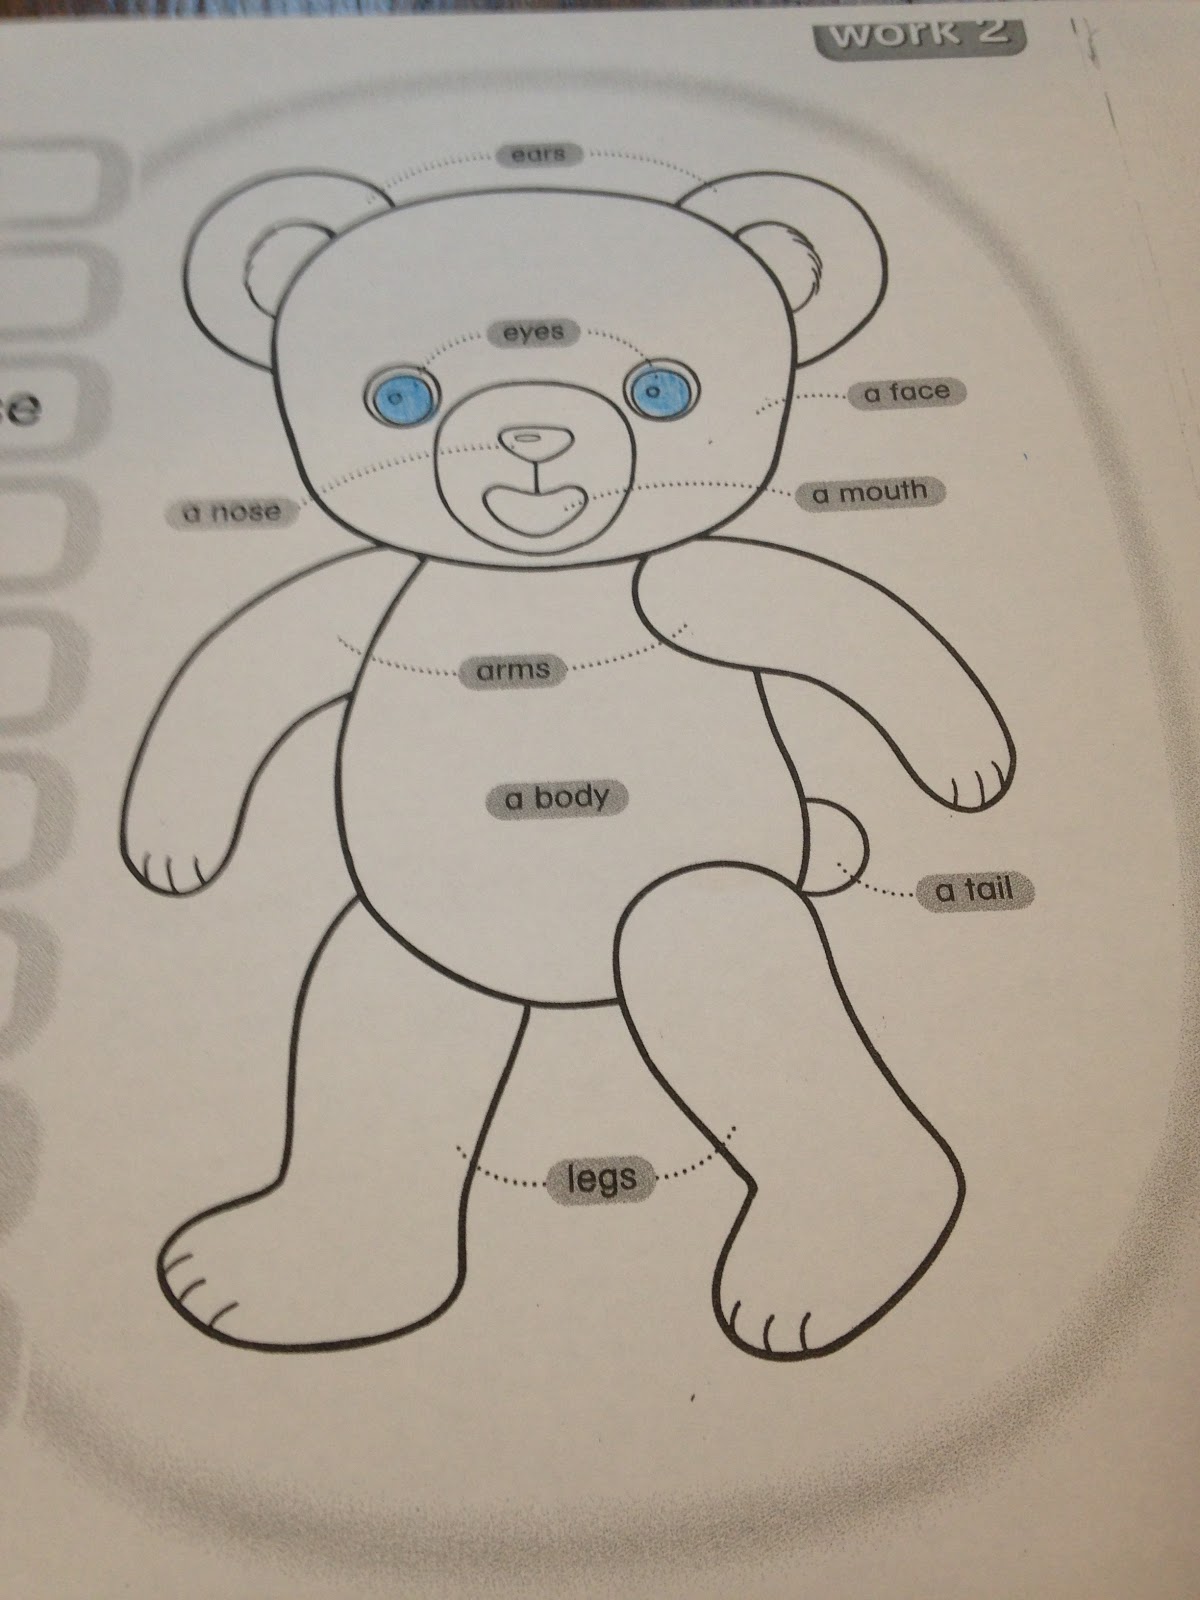
ACTIVITY 2: “A Teddy Bear” WORKBOOK page 3: Color the body parts.
Students colored the body parts as instructed by the teacher(s).
T: “Color the ears!”
Ss: “What color?”
T: “Green!”
In this way, students could indicate their understanding of the vocabulary. Before and after this activity, again students said each item and showed their location on their own body.
ACTIVITY 3: “A Teddy Bear” WORKBOOK page 5.
The students were unable to read the English on the left of the page, so I showed them my coloring – one body part at a time, and one student at a time, and out of sight of the others. This way one student had to relay the information to the rest of the class:
S: “(Color the) eyes!”
Class: “What color?”
S: “Blue!”
Activity 2 gave the students an opportunity to “listen and indicate their understanding”.
Activity 3 gave the students an opportunity to “say” the English.
Before and after each activity, the vocabulary was reinforced with students saying each item and showing the location on their own body.
ACTIVITY 4: Making the bear
Preparing 7 body parts for each student was painstaking (lots of photocopying and cutting-out) but unavoidable.
Each student first received a B4-sized sheet of construction paper. In fact, B4 was a little bit small for the completed bear to fit comfortably. This ensured that students used their imagination to make it fit, and helped each bear’s uniqueness.
Students were then instructed to go to the teacher(s) to collect the body parts, then return to their desk to glue them on.
Importantly, not all the body parts were available for collection immediately!
The first body part made available for collection was the bear’s body. This vocabulary was fixed for step 1 of making the bear to make subsequent steps smoother. All students were able to say “Body, please” easily.
The next body parts made available for collection were the “eyes” and “nose”. Having two body parts available, as opposed to just one, was necessary to encourage genuine communication.
Next were the “ears” and “mouth”. For simplicity, I decided to keep “eyes” and “ears” available for collection at different times, not together.
Then finally “arms” and “legs”.
I was happy with the activity overall because the students generally felt success with the English, they used it communicatively, independently and with hardly any need for reminding. They enjoyed it and the results were very unique to each individual student.
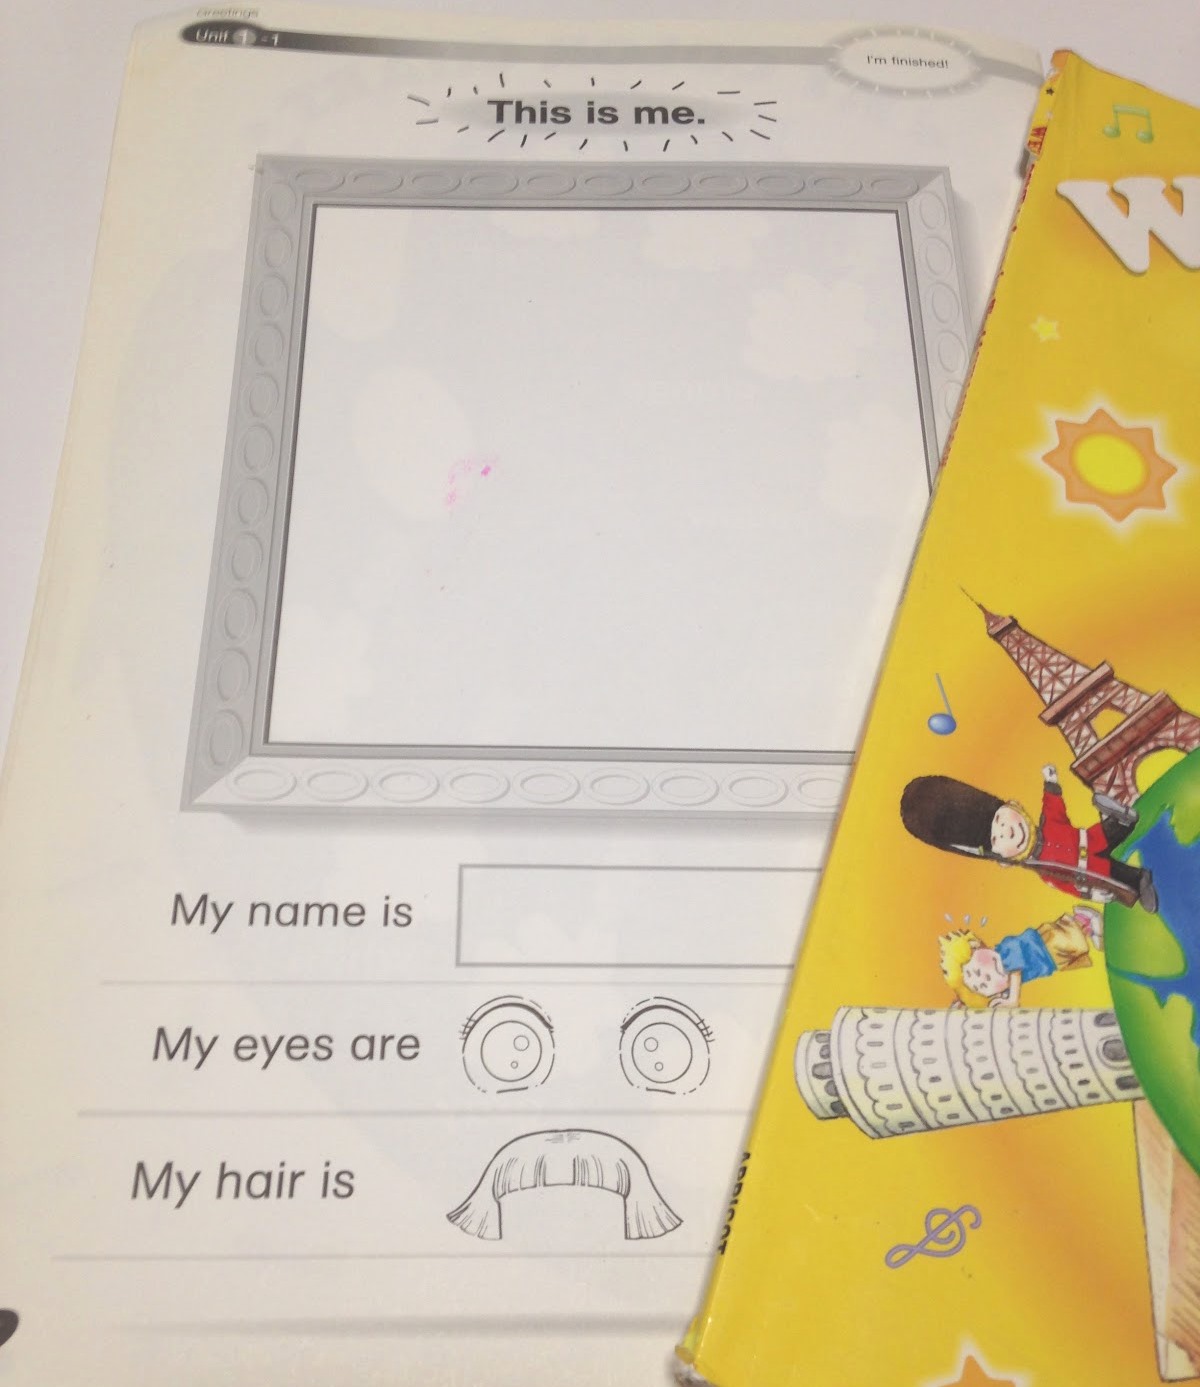
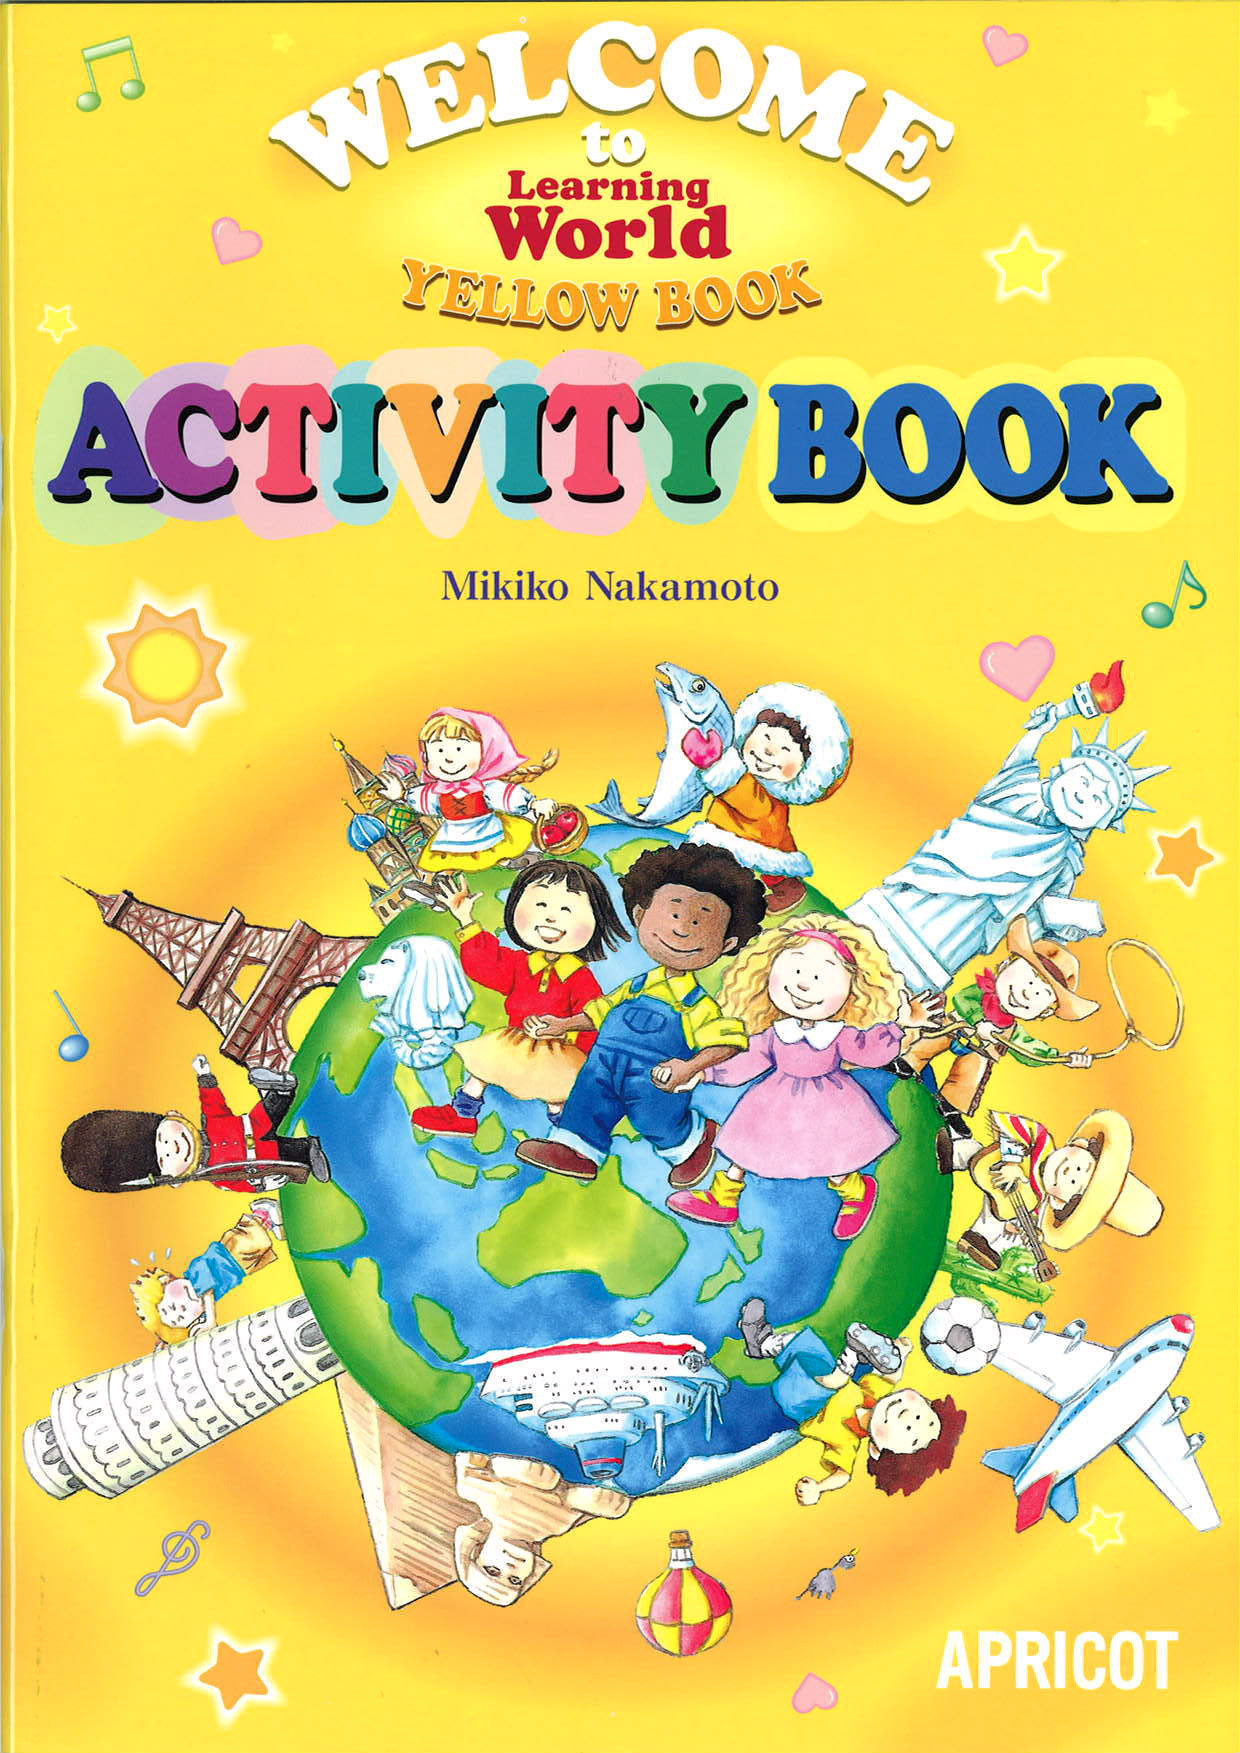
20. “THIS IS ME” – WELCOME Yellow Activity Book page 2.
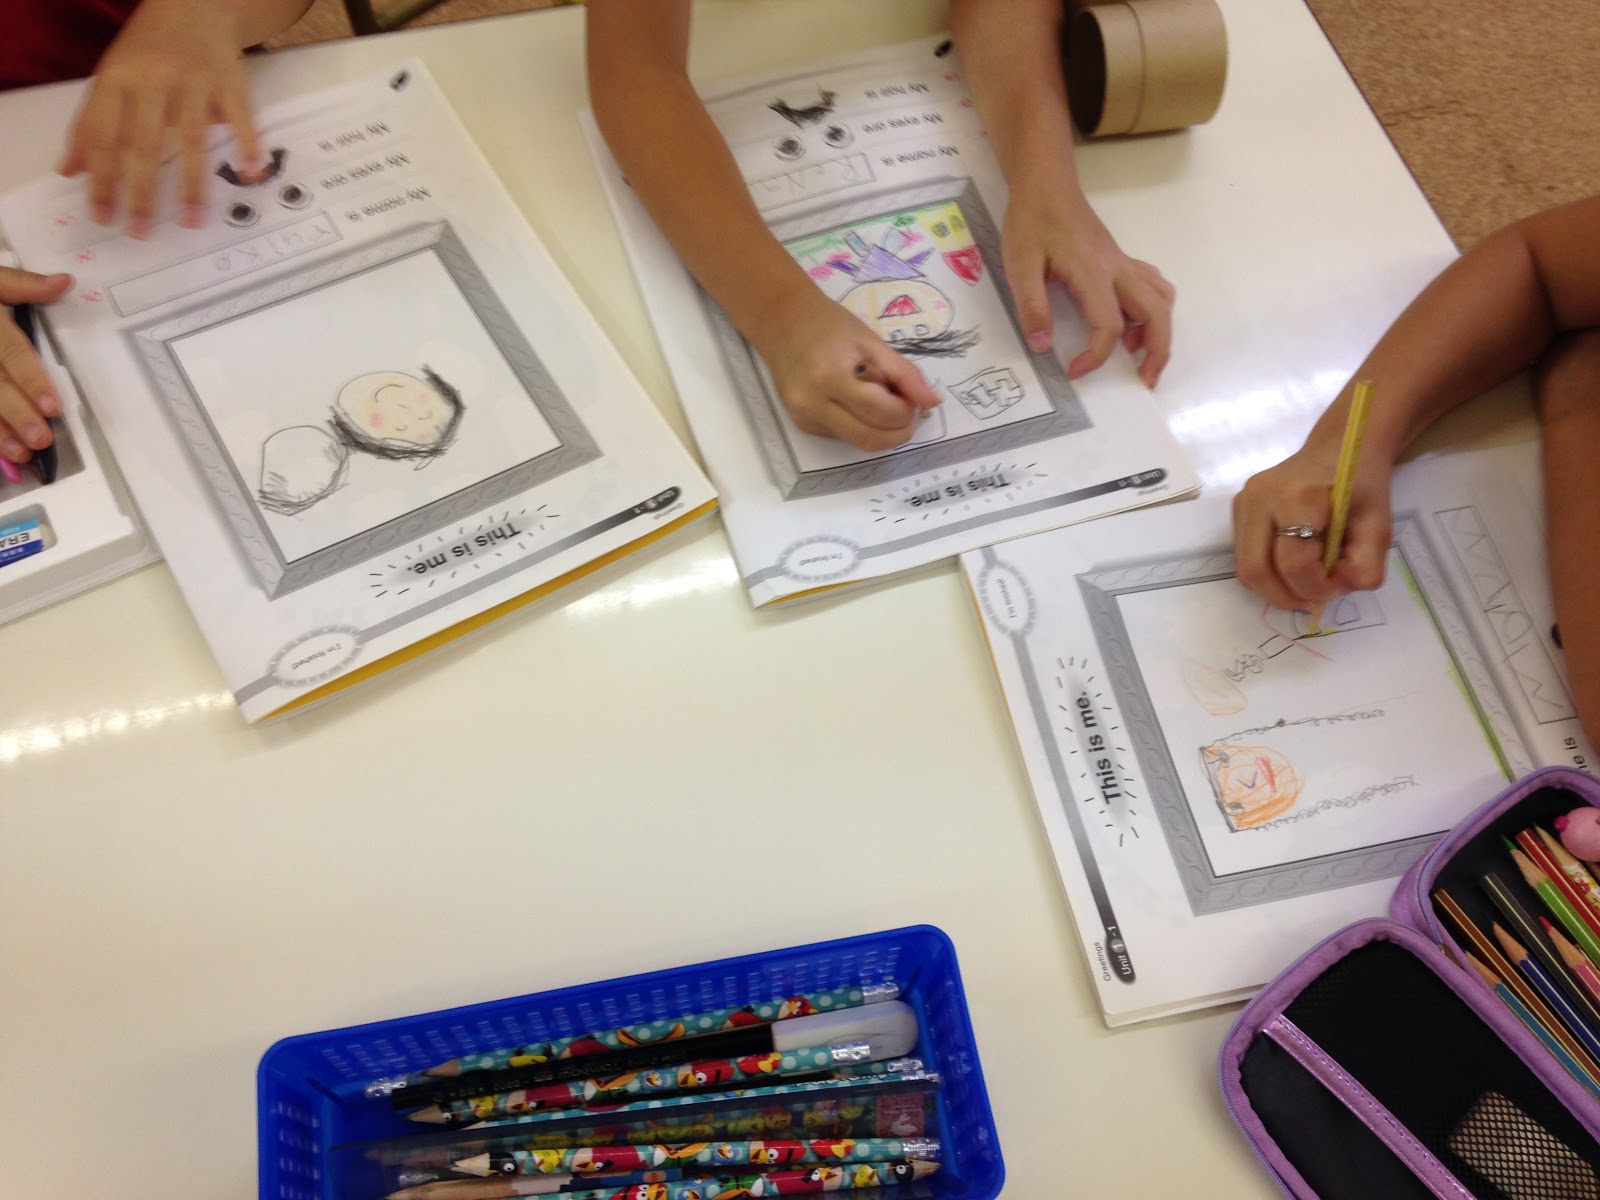
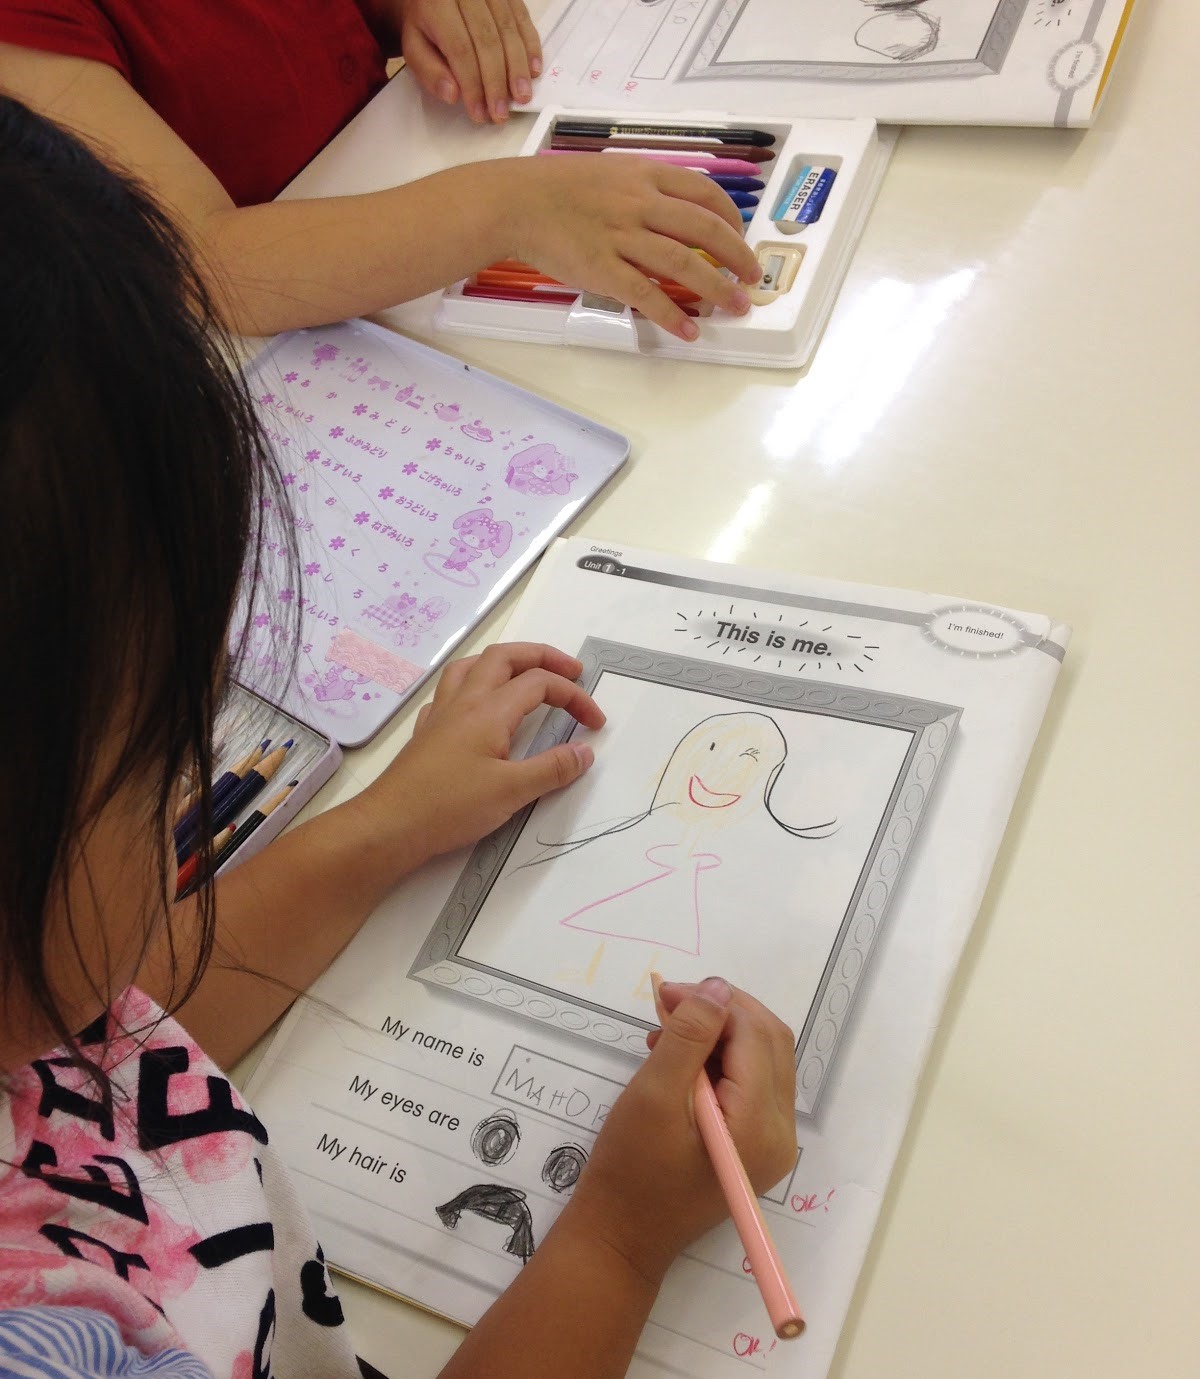
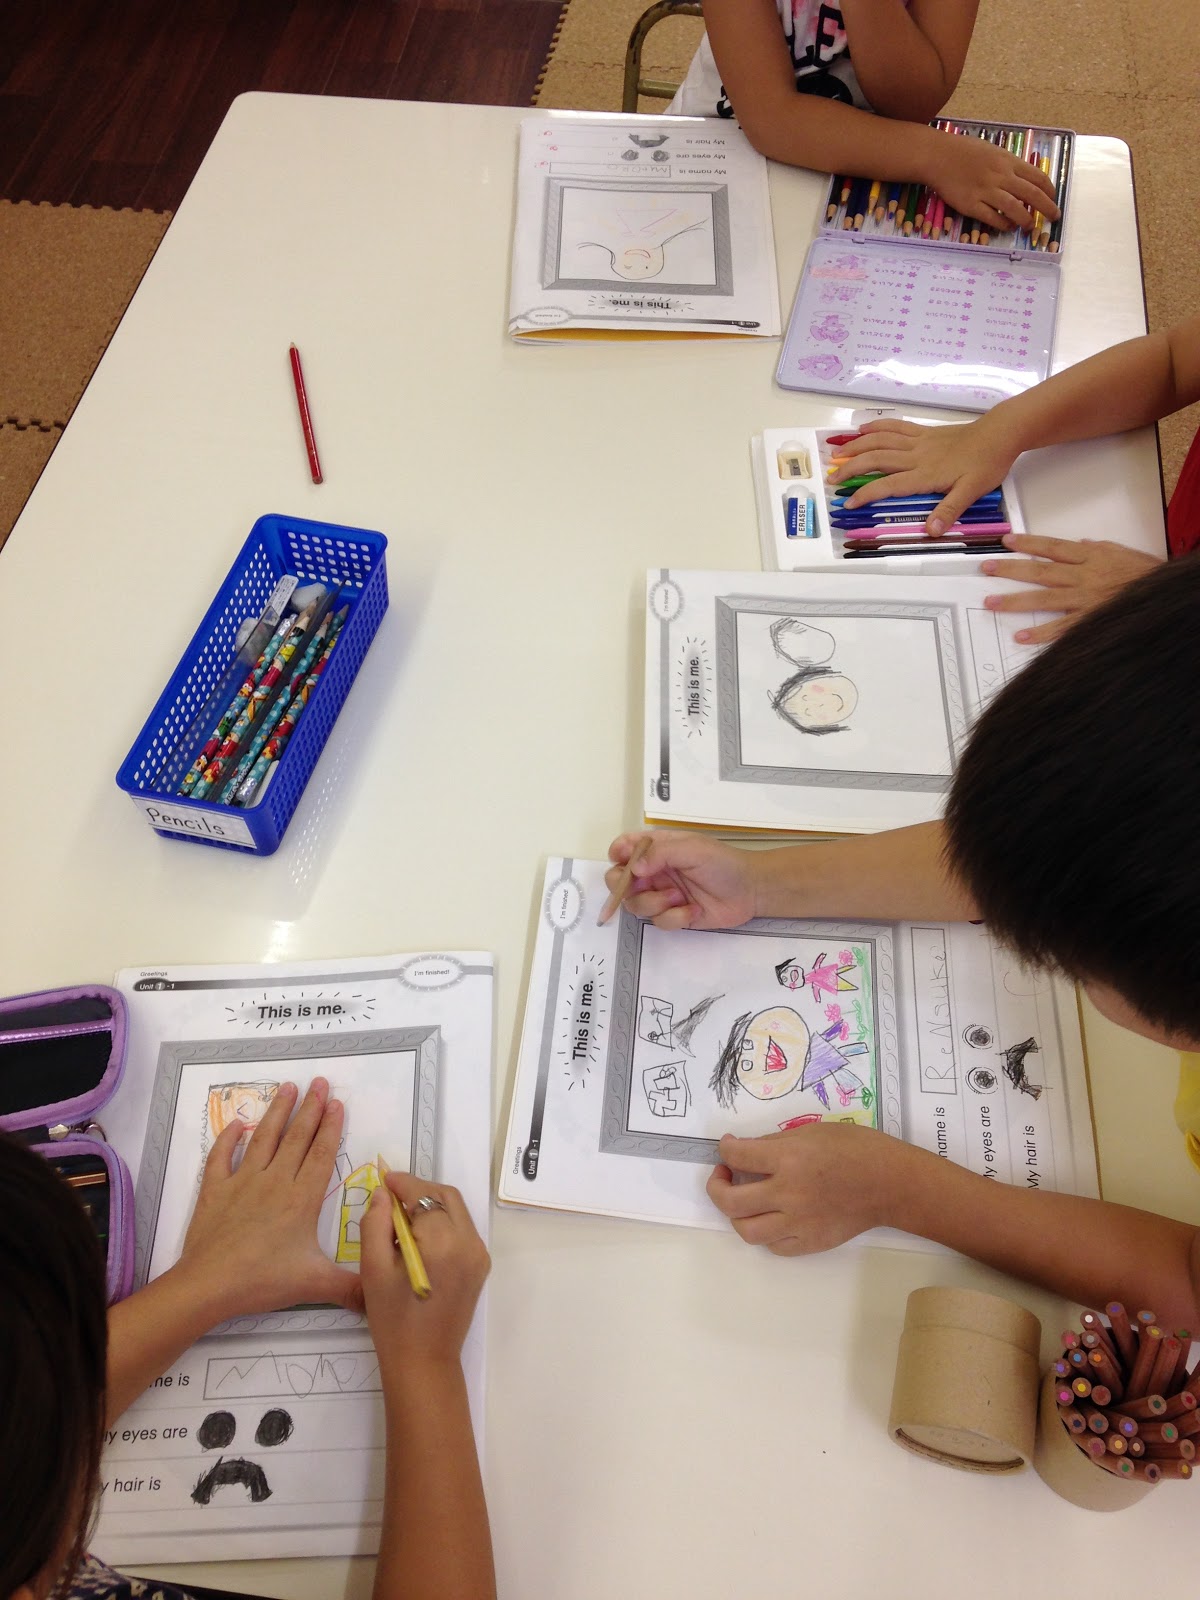
The objective of this page is for students to give a short presentation to their classmates using the English at the bottom: “My name is …….”, “My eyes are….” and “My hair is …..”
Now perhaps it’s just me, but I’ve always found that this English presented together at one time is quite challenging for young kids – particularly if they’re in their first year of lessons, as many students on WELCOME Yellow are. It dawned on me recently though that this page needn’t be completed in one lesson(!) You can spend 10 minutes a lesson on each section of this page, and take perhaps 4 lessons to finish it.
Lesson 1: “My hair is ….”
Yes, that’s right; start at the bottom. This is because coloring a picture of hair is easier than writing a name.
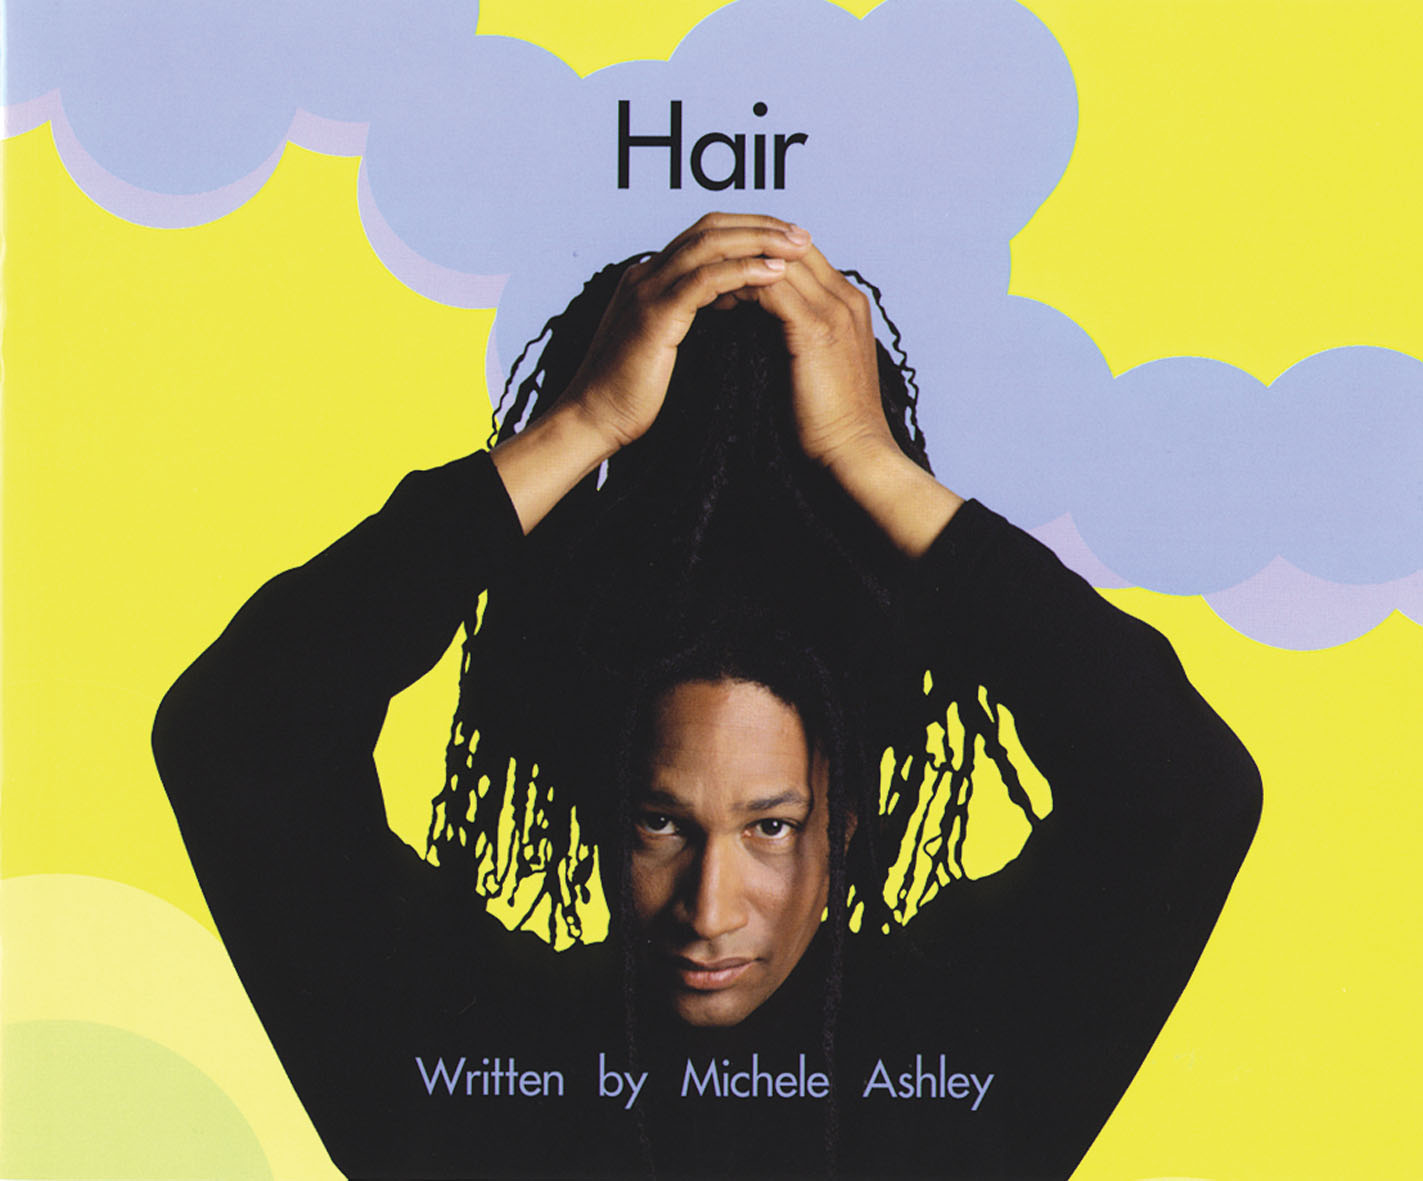
Students color the picture and the English “My hair is…” is introduced and practiced. (Incidentally, the Springboard Readers collection has an excellent book in Level 1 called “Hair” which can be used as supplementary material).
Lesson 2: ”My eyes are…”
Students color the picture and the English “My eyes are…” is introduced and practiced. (Incidentally, “Whose Shirt?” storybook from the Chants-de-Ehon Series has an excellent page activity on the last page where students match eyes with animals).
Naturally, at this time, “My hair is…” can be reviewed. The students practice these two expressions together. This is an important step because combining “is” and “are” over two separate sentences can be fairly challenging.
Lesson 3: “My name is….”
Students write their name in the box. This in itself can be problematic, especially for very young kids in their first year and who just happen to have slightly long names…! Of course, “perfect writing” is not the objective here, and of course students can be assisted. An alternative to writing is that the teacher write students’ names on small paper, the students have to find their paper, and then glue it in the box.
Naturally, at this time, “My hair is…” and “My eyes are…” can be reviewed. The students practice the three expressions together.
Once the students have managed to say the three expressions together, the most difficult aspect of this page is overcome.
Lesson 4: Students draw in the large box, and practice presentation.
Students should be encouraged to draw more than just their face. The box is large, and the English says “This is me”. So pictures of things that students like – sports, food, animals etc. should also be included.
All three sentences are reviewed.
Presentations are practiced together, not individually.
⇒⇒⇒ Click for audio of a short group-practice.
Lesson 5: Individual Presentations
Of course, by the time students present in front of the class, none of the English that they say presents any new information to their classmates, but the experience of standing in front of the class and presenting their individual work in a loud voice is of utmost importance.
Interaction on students’ drawings in the large box should be done after each presentation.
⇒⇒⇒ Click for audio of presentations

3. Ah… Summer!
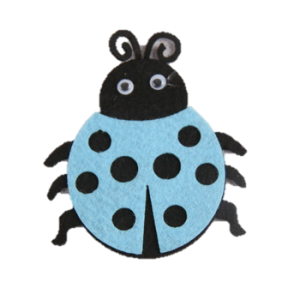
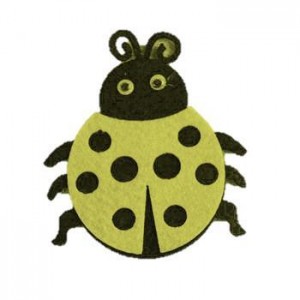
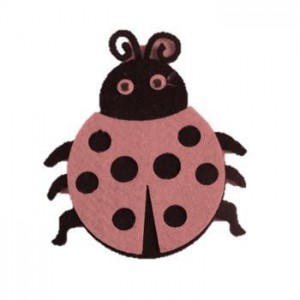
Here are ladybugs made of felt. They are very nicely completed.
As a teacher, would you accept a child’s work if:
-the legs were placed on the opposite sides?
-the dots were not symmetrical?
-the eyes were lower?
Ah, summer…! Not my least favorite season. While for me the best food options are during the Japanese winter, nothing quite beats the excitement of this country’s summer! The festivals, the fireworks…!
For our students too, summer holds a special magic unlike any other season. Do you remember the feeling of youth and summer? I do, with crystal clarity. 6th grade. A vacation to an aunty’s house by the beach. A neighbor girl the same age. My first love… totally unreturned!! I returned home devastated, but a little wiser. Kids tend to do a bit of growing up over the summer.
The school I work at has a 14-day summer program. Regular classes are on hold, and students instead can come any day or all days for several hours of games, arts & craft, water fun in the park, and a school-made snack. The teachers are paired up for the duration of the program, and together we maintain the all-English environment. Students are encouraged to bring friends as it’s a good way for the school to obtain new students. I like the program. It’s interesting to see my students outside the formality of a 50 or 80 minute weekly lesson. It’s fun to see them enjoy activities that we don’t usually do in our lessons. And at the school’s request we teachers are able to put away our “English-teacher” hats, and put on our “simply-relax-and-have-fun” hats. After all, the summer program itself has little to do with “English education”, and is geared mainly towards giving the students a fun-filled day.
The crafts are always quite interesting, and are entirely the ideas of the Japanese staff at the school. One of the crafts
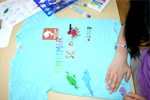
involved sticking pre-cut felt pieces onto a canvas bag. Put together the pieces formed simple, pictures of summer: a watermelon, a whale, morning glories, and a beetle. Now, the beetle’s felt pieces were a little complex, particularly the legs which if care was not taken could easily end up stuck on backwards/back-to-front/upside-down. And for many of the kids, that’s exactly what happened…
The child-like charm of the slightly ‘deformed beetle’, and the resulting unique expression of each one, for me easily overcame any temptation to “fix” the picture. But not all teachers see the same things. “Charming” to one teacher might be “messy” for another. “Unique” to one teacher might be “incorrect” to another. “Expressive” to one teacher might be “noisy” to another. When the craft was finished, and the students all went to wash their hands, my partner-teacher to my dismay went from bag to bag fixing all the beetles so that they were presented on the bags uniformly.
In the classroom, it’s not just what a teacher sees that’s important, but how a teacher sees it that determines their course of action. If teachers who work together don’t see the same things in the same way, they will inevitably feel disagreement about each other’s actions. If teachers team up together in the classroom on a regular basis, they should spend a good amount of their teacher development time on learning how their partner sees things in order to understand each other’s actions. This is what I learned by this experience.
“I returned home devastated, but a little wiser…” It’s not just the kids that tend to do a bit of growing up over the summer!


